TRAVEL LIKE A PRO
This piece is 20 years in the making. I’ll warn you, much of this is a personal preference and may seem overboard for a trip to the beach. This is mostly designed to educate you on how to best travel with equipment to a developing country or a country in conflict. If you’re a photographer, cinematographer, musician or any other person that does this type of travel with gear, this is the post for you.
It’s that horrifying moment that no person wants to experience. You’re standing in a line preparing to leave an unfamiliar country when you suddenly hear your name in broken English announced over the airport intercom. As your brain collides with your nervous system and emotion overcomes your body, your heartbeat doubles its pace. What do you do?
They didn’t tackle me or interrogate me for 18 hours like Hollywood would make you believe. They pulled me out of line, took me to a room and asked me a question about a unique piece of luggage that my crew was checking - a light modifier. I casually said one word, photography. They smiled and put it back into the luggage and said I could return to the line. As a person carrying complex and expensive equipment, this experience is all too familiar. This was not the first instance or only time something of this nature has happened to me over the course of my career in travel. It’s always a new adventure, but I’ve hit a stride and hacked my way into the best practices for making travel easy and efficient.
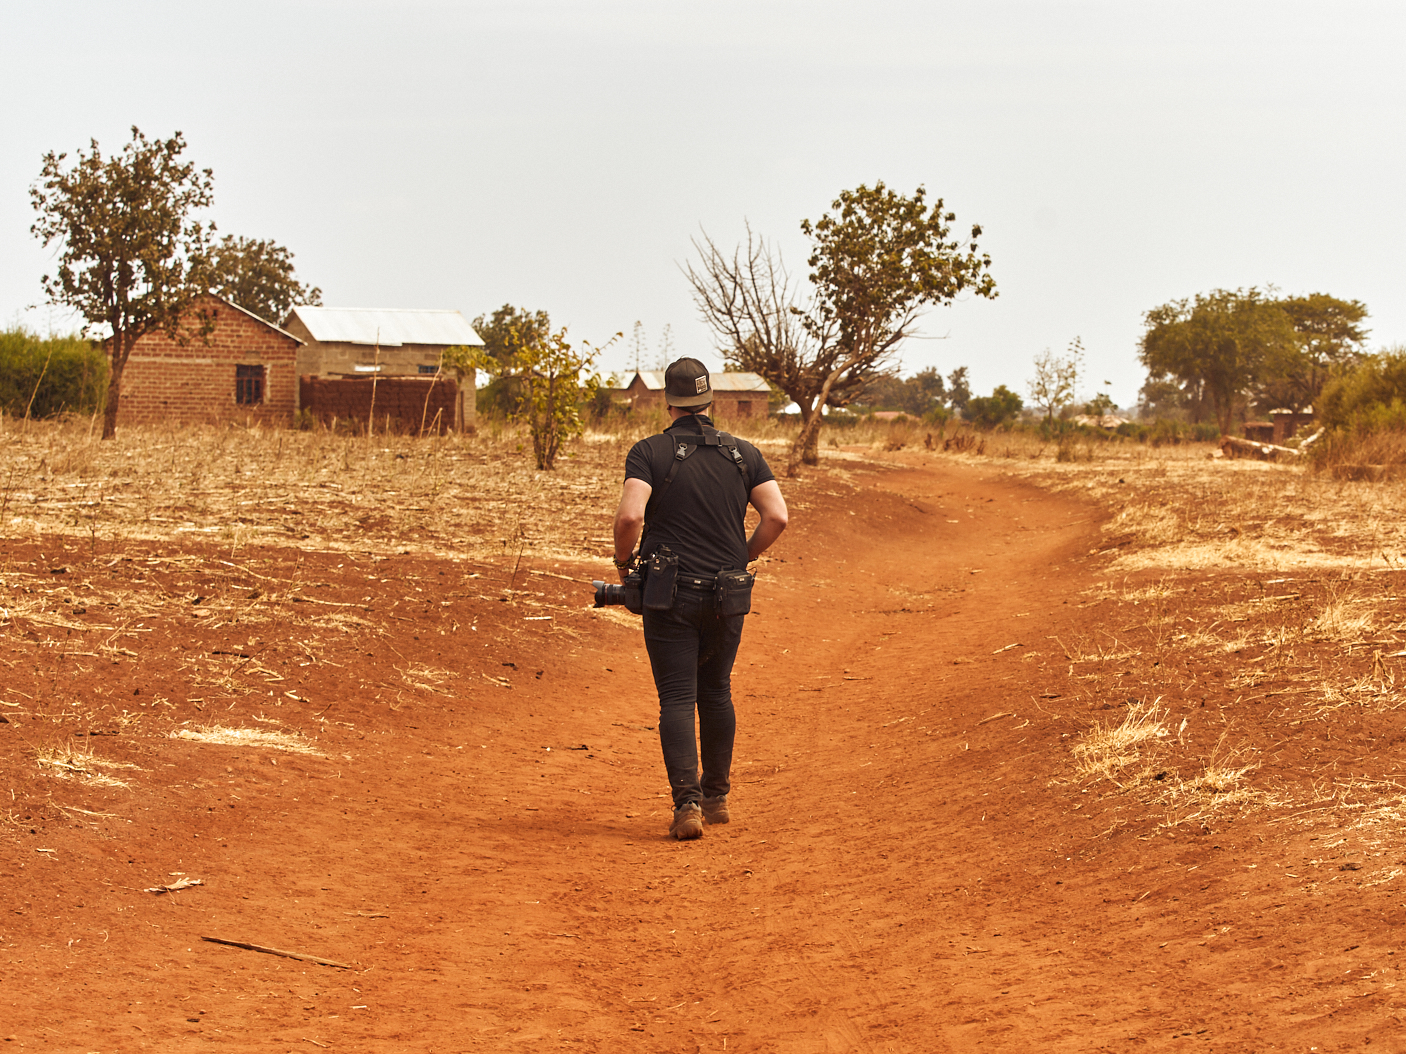
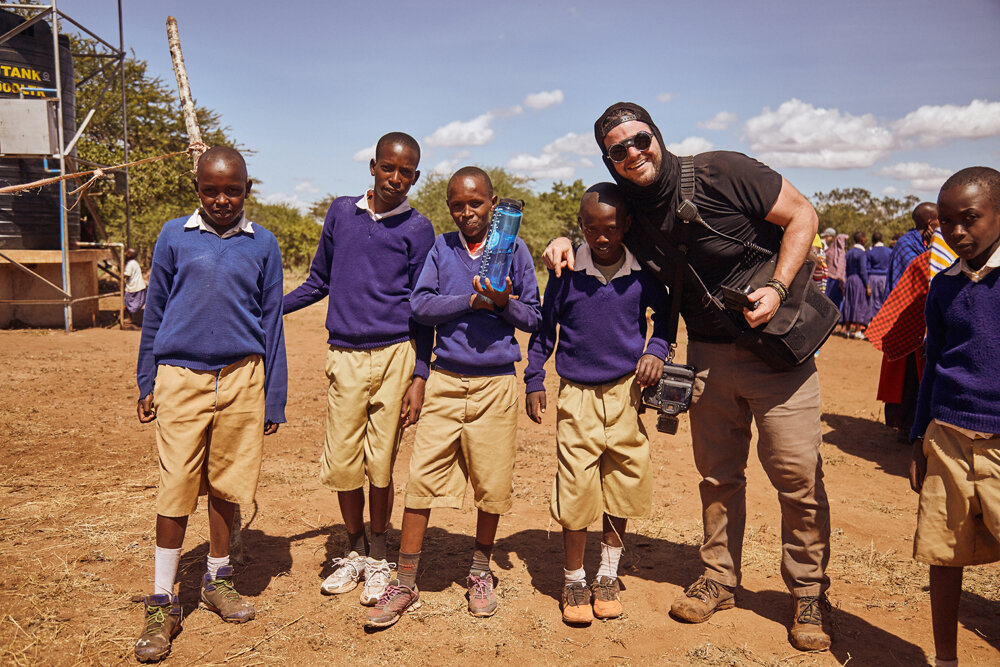
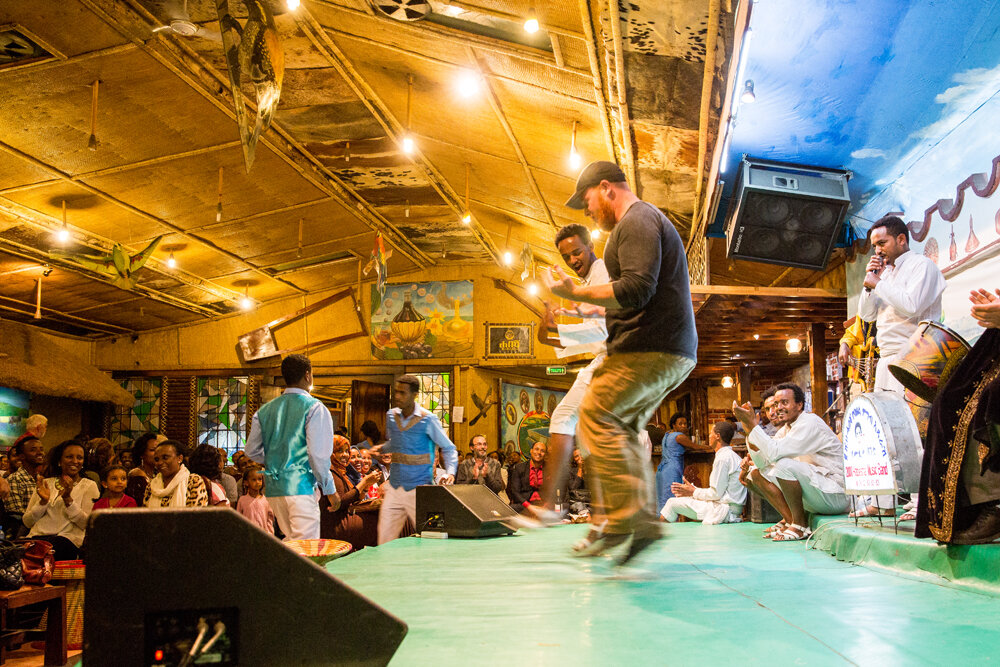
I was in a touring band for nearly 10 years before I started photography 9 years ago. In a nutshell, I traveled and lived in a van while having the opportunity to play music in front of people night after night. Collectively, I now have almost 20 years of experience traveling the country and now the world. However, I had never traveled outside of the United States until I started my photography journey in 2011. While my first trip was technically “vacationing” to the Bahamas in 2014 with Fstoppers, I still consider my first work trip out of the country to Tanzania, Africa in 2015. Since I’ve traveled to nearly 20 countries in 4 years including Iraq, India, Bangladesh, Malaysia, Cambodia, Ethiopia, Tanzania, Cuba and many more. I don’t travel as much as a lot of people, but I’ve certainly traveled to my share of places off the beaten path.
Preparation
I won’t dive into the logistics of booking travel, such as flights, rental cars and hotels. Yes, there are small tips and tricks to getting cheaper travel, but I’ve found the small investments into a more comfortable experience can go a long way in reducing annoying hiccups, such as lost luggage. The age old saying reigns true, “You get what you pay for.” With that said, it’s very important to consult a person or representative on the ground or someone who has visited the area beforehand when booking travel. Ask questions. Ask more questions.
Apply for TSA Pre✔. If you reside in the United States and fly domestic frequently, this is an absolute lifesaver when it comes to avoiding lines and navigating through an airport efficiently. You don’t have to remove your shoes, you don’t have to undress, and rarely will they stop you for a secondary security check, even if you have a lot of equipment.
Apply for Global Entry. If you often fly internationally, get Global Entry. You’ll expedite the entire U.S. Customs lines and get right through with a quick scan.
If you cannot be approved for these timesavers or simply don’t travel a lot, it’s totally OK, you’ll just need to pad in more time, allowing for airport navigation.
Go Luxury When You Can. While I always fly Economy with the shortest duration of travel possible. Sometimes, its worthwhile to bump your ticket up to the next level for longer flights. The extra leg room or a few more inches on the arm rest is a big deal when it becomes your living space for 6+ hours. As a photographer, I carry on as much equipment as possible, so the overhead bin space is vital. The sooner you can board the flight the more time you’ll have to get your “world” setup and the more space you’ll have for your overhead luggage.
Memorize 24 Hour Time or Military Time. All international airlines work under the umbrella of 24 Hour Time than Civilian Time. The 24 Hour day starts at midnight, which is designated as "00 hours" or "00:00." From then until noon, 24 Hour time looks very familiar: 06:00 is the same as 6:00 a.m., 12:30 is the same as 12:30 p.m., and so on. Once you hit 1 p.m., a 12 Hour clock would start over from 1, but the 24 Hour clock keeps going. So just subtract 12 from the number to get the evening time. If you get overwhelmed in trying to do a quick conversion in your head there are also a handful of apps that can convert Standard Time into the 24 Hour Time, without the need of data. With that said, it’s very easy to understand and to memorize which I highly recommend taking on before you board.
Understand The Time Zones. If you’re flying internationally, it’s very likely you’ll be traveling either forward or backward in time. Whether it be east, west, north or south many countries are in a completely different time zone than what you may be typically used to. When you hop from country to country, airport to airport, it can be tricky to lock down what day and what time it is when you land. For example, I’ve flown into the Middle East thinking it was sunset, but it was actually sunrise and I had no idea. When I purchased an Apple iWatch and was able to view multiple time zones in multiple countries on the same watch face, it was truly a blessing. I highly recommend the purchase of a smartwatch or downloading an app that will easily display the current local time and the time of your destination. It can also be a lifesaver in country when wanting to know the local time of your own country.
Contingencies
Apply for Travel Insurance. I recommend Travel Guard. It’s a low-cost option that will protect you in case of delays, medical, lost luggage and more. In some cases, you may also want to look into medical evacuation insurance. First-response and aeromedicine is expensive.
Call your Cell Phone Provider. Most cellular telephone companies have options for data, text and service in international countries. Some are one-time options others are plans. Do your research and find what works best for you and your itinerary. I prefer to bring two smartphones, one with an international cellular plan and one with a local SIM card. SIM cards can usually be purchased at the airport when you land and cost little to nothing for unlimited talk/text/data. The iPhone with the SIM card takes on a local number, so I can use text, data and calling freely while I’m on the ground. The iPhone with the international plan allows me to maintain my USA number and still get incoming calling, text and data. I often limit the data usage on that phone by keeping it safe in the hotel or residence and only bring my “burner phone” out. Just remember, any phone must be “unlocked” before you can use a local SIM card.
Call your Bank. Many banks will freeze your account if you start using a debit or credit card actively in an international country. It’s important to setup a travel notification and notify them of your itinerary with your bank to avoid issues.
Avoid Social Media. This is a massive security risk. Don’t post an image of your boarding pass or itinerary. Don’t post any images of you traveling and don’t let social media know where you’re going. I know you may be excited to travel, but letting people know you’re away not only offers your empty home up but also gives valuable data for possible kidnapping, robbery and a terrorist threat on the ground. If you want to share your experience, keep it extremely general and not detailed or save videos and photos and upload them after you’re safely on your way home. No one will know the difference. Keep in mind, most people do not see your timeline in a sequential order due to the social media algorithms anyway.
Tell Close Friends and Family. Print out your travel itinerary and give it to close friends and family. Provide emergency contact information and all contingency planning such as medical insurance information, travel insurance information, blood type and contact information of those that will be with you or in communication with you while on the ground. Be sure to brief them on what you’re doing, why you’re doing it and most important where you’re going.
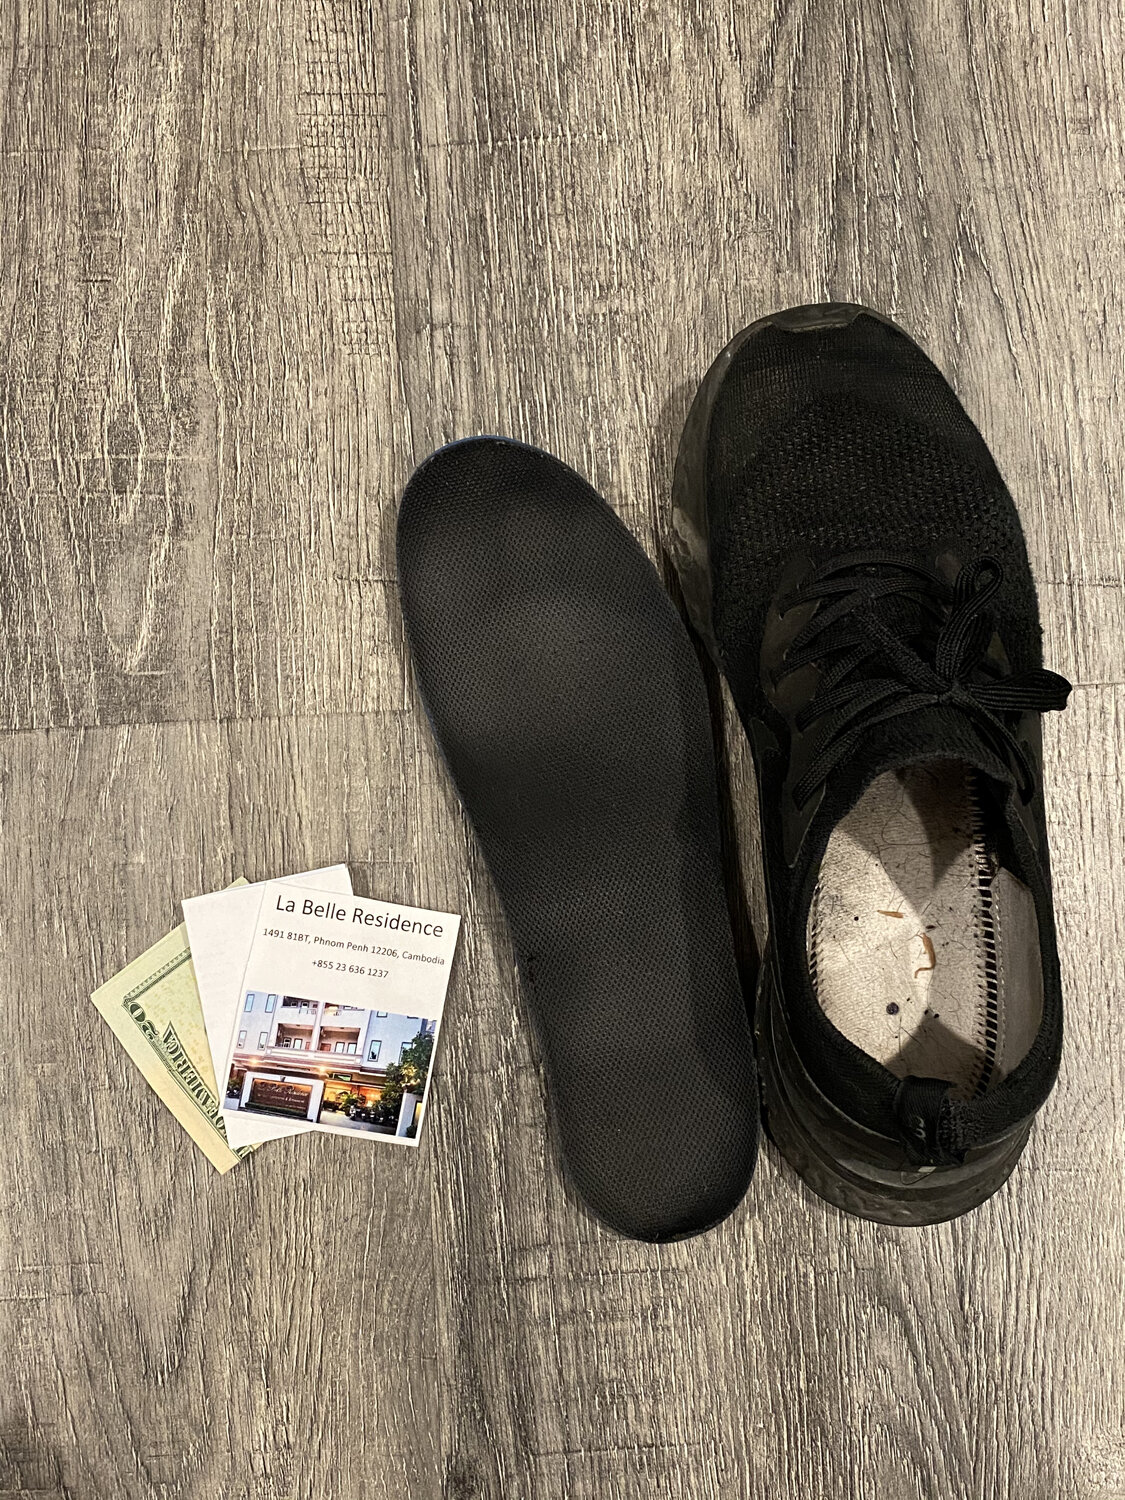
Print Everything. I mean everything, this includes but not limited to additional copies of your passport, hotel information, insurance card, medical information, blood type, and emergency contact information. If you want to go the extra mile, laminate all of these copies and place them in multiple places on your person such as your backpack, pocket, sock or in my case: right shoe. I always know where a copy of my passport, medial information and itinerary are at all times. Unfortunately, TSA and most security will not accept identification in a digital form i.e. your iPhone. It’s a good thought to have access to everything on your smartphone, but most checkpoints won’t accept it if you’re caught in a bind.
I lost my wallet on one trip the evening before I was due to fly home. TSA would not accept my identification on my iPhone, so I had to go through an extensive search and background check several times just to pass through without I.D. During the search, TSA gave me some insight into the process sharing that TSA will likely accept anything in a tangible paper/plastic form aligning your person with a name and address, such as a pill bottle, letter, or electric bill.
Fake Media Pass. Fstoppers once wrote an article on how to create your own fake media bass for waived baggage overweight fees, domestically. It does work in the United States, but in my opinion, it’s a simple security risk that says, “I have expensive equipment.” I urge you to not take advantage of this airport luxury and get your bags under the maximum allowed weight. It will save you the hassle and keep you and your equipment safer.
Frequent Flyer
Join Every Frequent Flyer Program. Most airlines offer some form of account, a.k.a. frequent flyer program. Be sure to sign-up for the program through the airline you plan to fly and download the corresponding app. You’ll be able to get a digital boarding pass, instant updates, flight information and receive points (miles). When traveling internationally, you can stack up a lot of points (miles) for discounted or even totally free flights in the future. So, don’t let those travel points go to waste and join the program.
The app is important while navigating through multiple international airports like boarding gates changes. Instead of trying to eagle eye a hundreds of different flights on the flight information display system (FIDS) next to two dozen people, it’s right on your smartphone.
Get The Frequent Flyer Credit Card. While not required, having the frequent flyer credit card for your airline can be a valuable asset for free baggage fees, and most importantly an initial boatload of miles for free travel. United offers 80,000 points to join, Delta near the same. That’s a couple of free domestic flights. Now, I’m not here to send you into more debt with a credit card, so use them responsibly, keep the balances near 5% of the limit and enjoy the perks. Always book travel with the corresponding airline credit card for the miles and pay off the balance. Easy.
Health Preparation
One important factor of a successful trip that is often overlooked is health. If you have a weak stomach or a weak immune system, it will be easy for you to get very sick in a country that doesn’t have the same health standards and luxuries you may be used to. Also, different food and a serious lack of solid sleep can be detrimental to the body. Preparing your body and having methods to keep your body healthy is vital to avoid any sickness.
Get Shots and Know Your Blood Type. Go to your local international medical clinic and get the basic shots they recommend such as Malaria, Hepatitis A, B, and C, etc. Do not get the shots they will try to sell you, especially those extremely rare diseases such as Japanese Encephalitis. Some medical professionals in these clinics are like car salesmen. They will try to sell you and scare you into getting every single shot on the planet. I would bet a lot of them have little to no travel experience. Also, if you don’t know your blood type, it’s good information to keep in your back pocket when traveling to exotic places and countries in conflict.
Ditch the Pills, Get the Supplements. Just like the shots, these medical professionals will also try to sell you on a boatload of pills to take on your travels, such as Malaria Pills. Ultimately, this is your call. But I prefer to skip the chemicals for natural supplements. In my blog, “Wings Of Kilimanjaro” you can see the type of supplements I usually take on every trip. Zinc, Beta Glucan, Vitamin A, D3, Turmeric for immunity. Super Digestaway, Ginger, Curcumin for digestion. Quercetin, Magnesium, Melatonin for stress and sleep. Grapeseed Extract and Omega-3 for overall health. Beforehand, purchase a 7 Day Pill Organizer Case for easy storage that combines all the bottles into one easy-to-travel case. Yes, you can bring this in your carry-on.
Pack Green Tea. I always raid the health section of my local Whole Foods before every trip. Green Tea (Caffeine Free) can be an amazing health benefit to have on hand, not too mention a tasty hot beverage every day. These are some Green Tea’s I don’t leave the house without: Arbonne Detox Herbal Tea, Yogi Detox Herbal Tea, Yogi Breathe Deep Herbal Tea, Pukka Lemon Ginger & Manuka Honey Herbal Tea, Pukka Three Ginger Herbal Tea, Traditional Medicinals Organic Ginger with Chamomile Herbal Tea.
I’m also a big coffee fan, I even take my Cafultano Mobile Pour Over everywhere I go, but keep in mind Green Tea is designed as a great caffeine free beverage and keep you healthy, coffee does not.
Pack a Muscle Roller. As a photographer, I work hard on international projects. The long flights mixed with extreme work can leave my muscles in need of a tissue massage. I always pack a Double Massage Ball roller to trigger point the muscles and release any distinct soreness every morning before I put my boots on. It’s been a lifesaver when it comes to mountain climbing or the night after a long hike.
Pack a Water Bottle. Although this may seem like a basic item, a 32oz water bottle can be vital in the air, especially when you’re fasting on a long flight like I tend to do. Also, you may not have the luxury of water bottles handed to you every time you’re thirsty, so carrying water is always a good idea.
Packing Practice
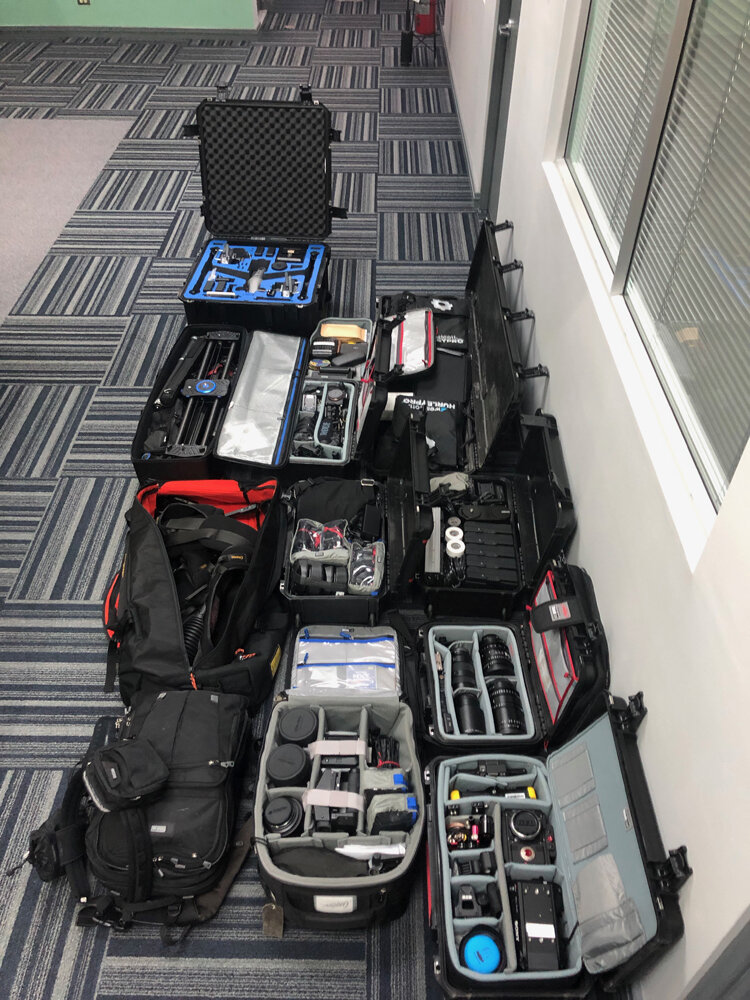
When it comes to packing gear, I like to put myself in the mindset of a Producer. In other words, I’m pretty obsessive. I like everything to be organized in the most broken down - efficient way possible. I know where everything sits down to the AAA battery and A-Clamp. Every piece of equipment, clothing, and accessory has a home.
Breakdown Gear. Everything should be broken down into its smallest and lightest footprint. Do not leave lenses attached to your camera or batteries left inside radio triggers.
Gaff Tape Gear. The goal is to make your gear look cheap. More often than not, a foreigner is likely to rate the value of a “Canon” or “Nikon” logo over its overall look. If your gear is covered in old stickers and tape, the perceived value is lower than a piece of gear that is sparkle bright. You don’t need to trash your gear and drag it through mud, just conceal the big logos.
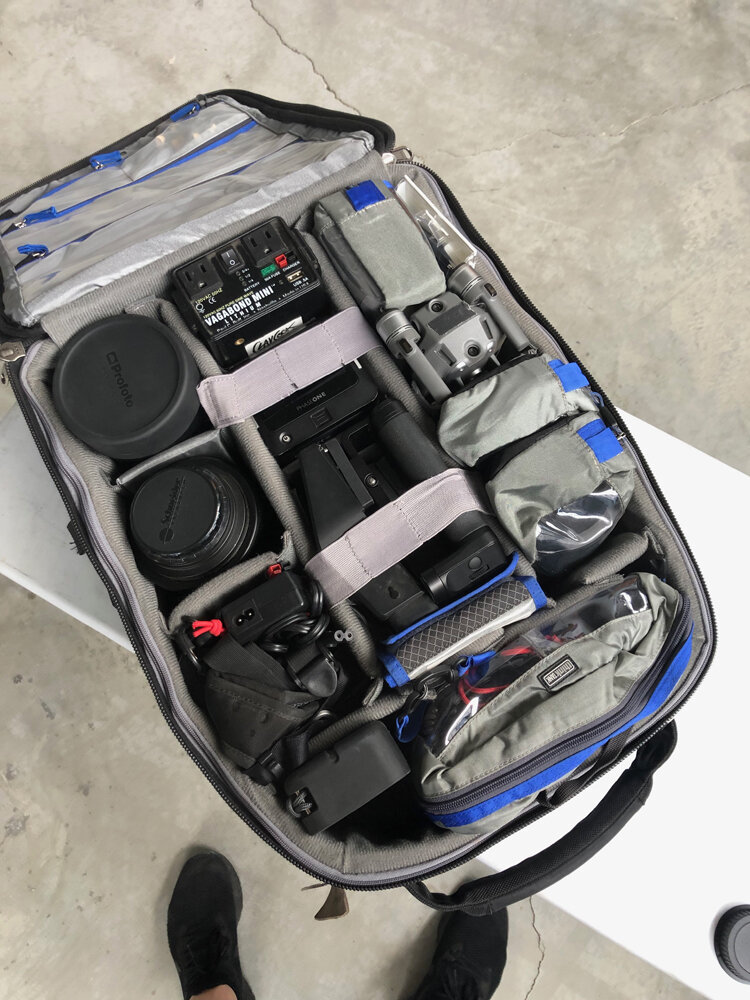
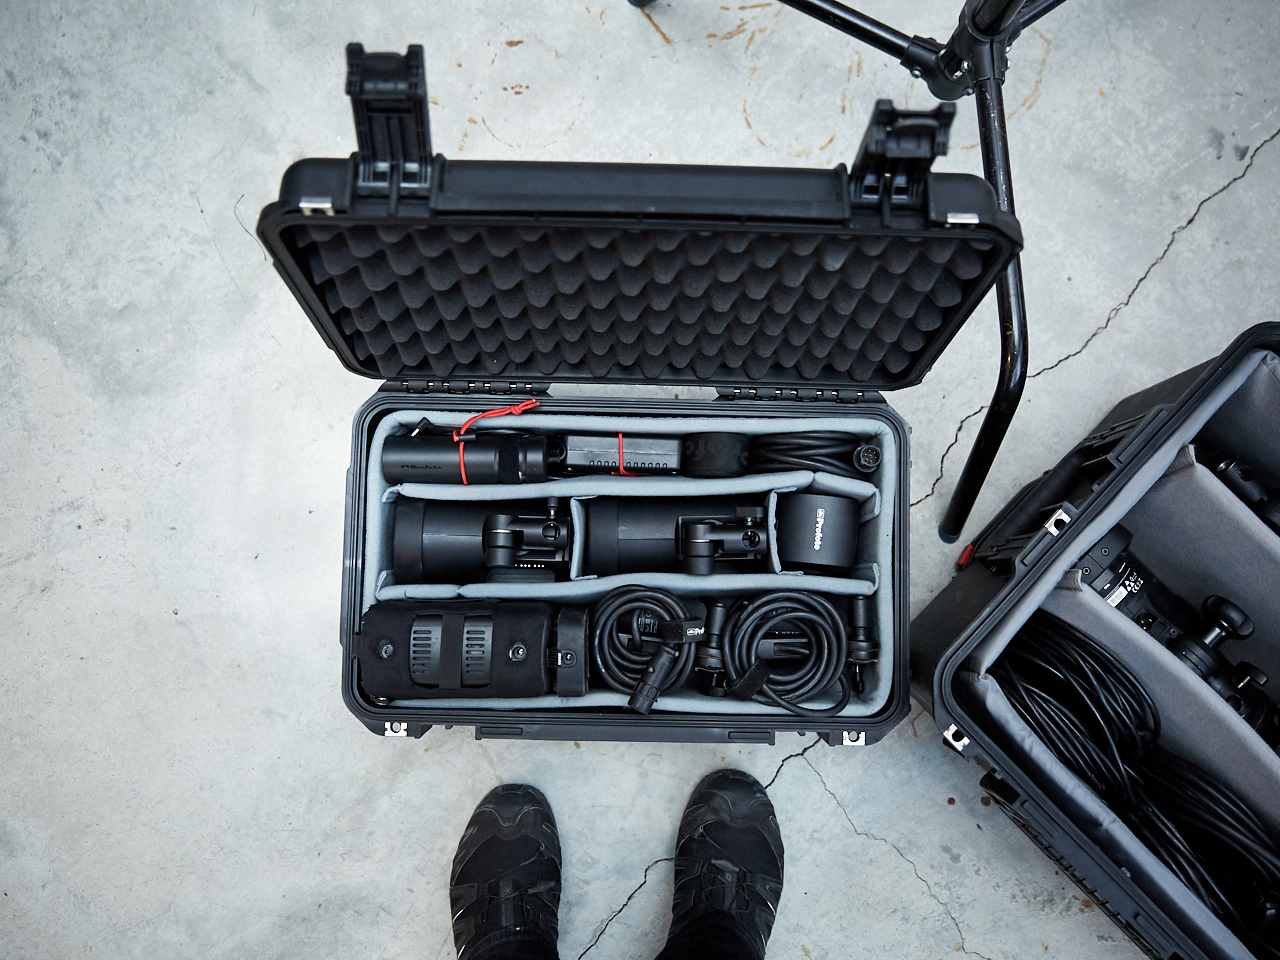
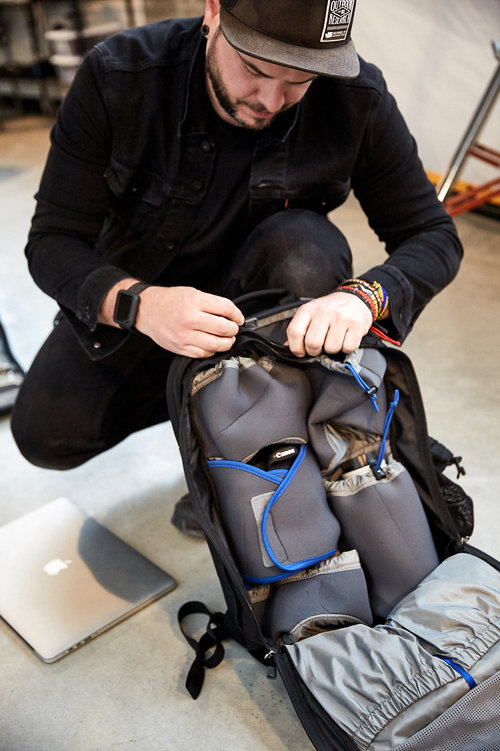
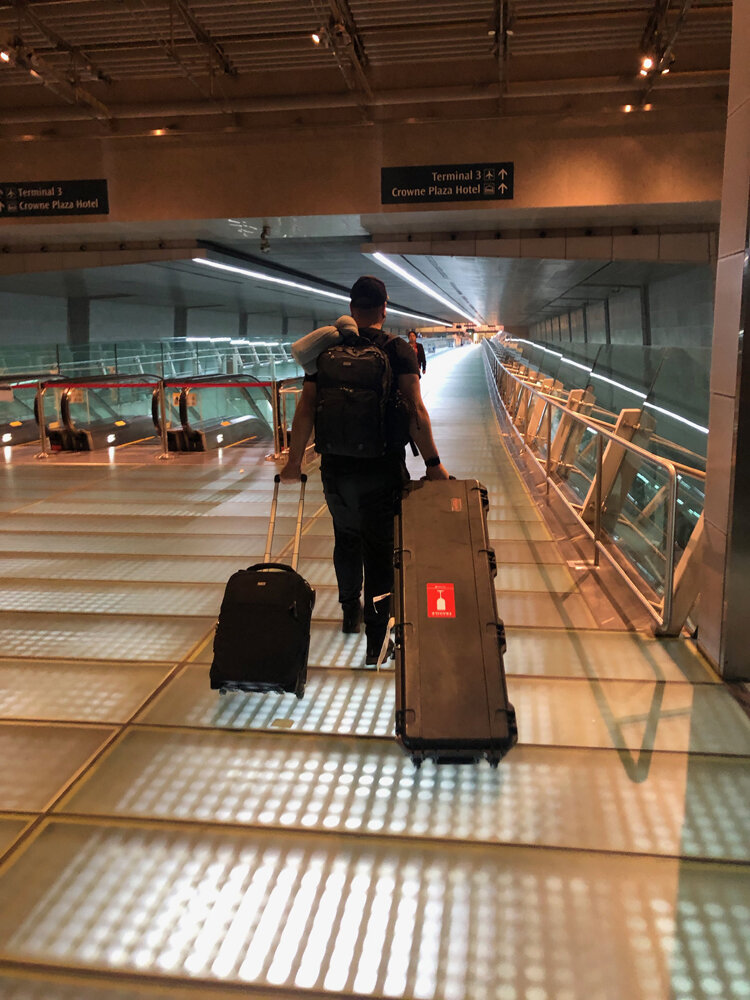
Play Tetris. I love my Think Tank Photo and SKB Cases. Their modular and most people don’t take advantage of the sheer space, because they don’t break down everything they should. Keep in mind, a camera body can be fit up to 8 ways into one space, You can even layer something on top of a camera body with a protective layer in between. In my line of work, I’m packing for space and weight, not the ability to grab the camera and go. I unpack and repack once I’m on the ground at my destination.
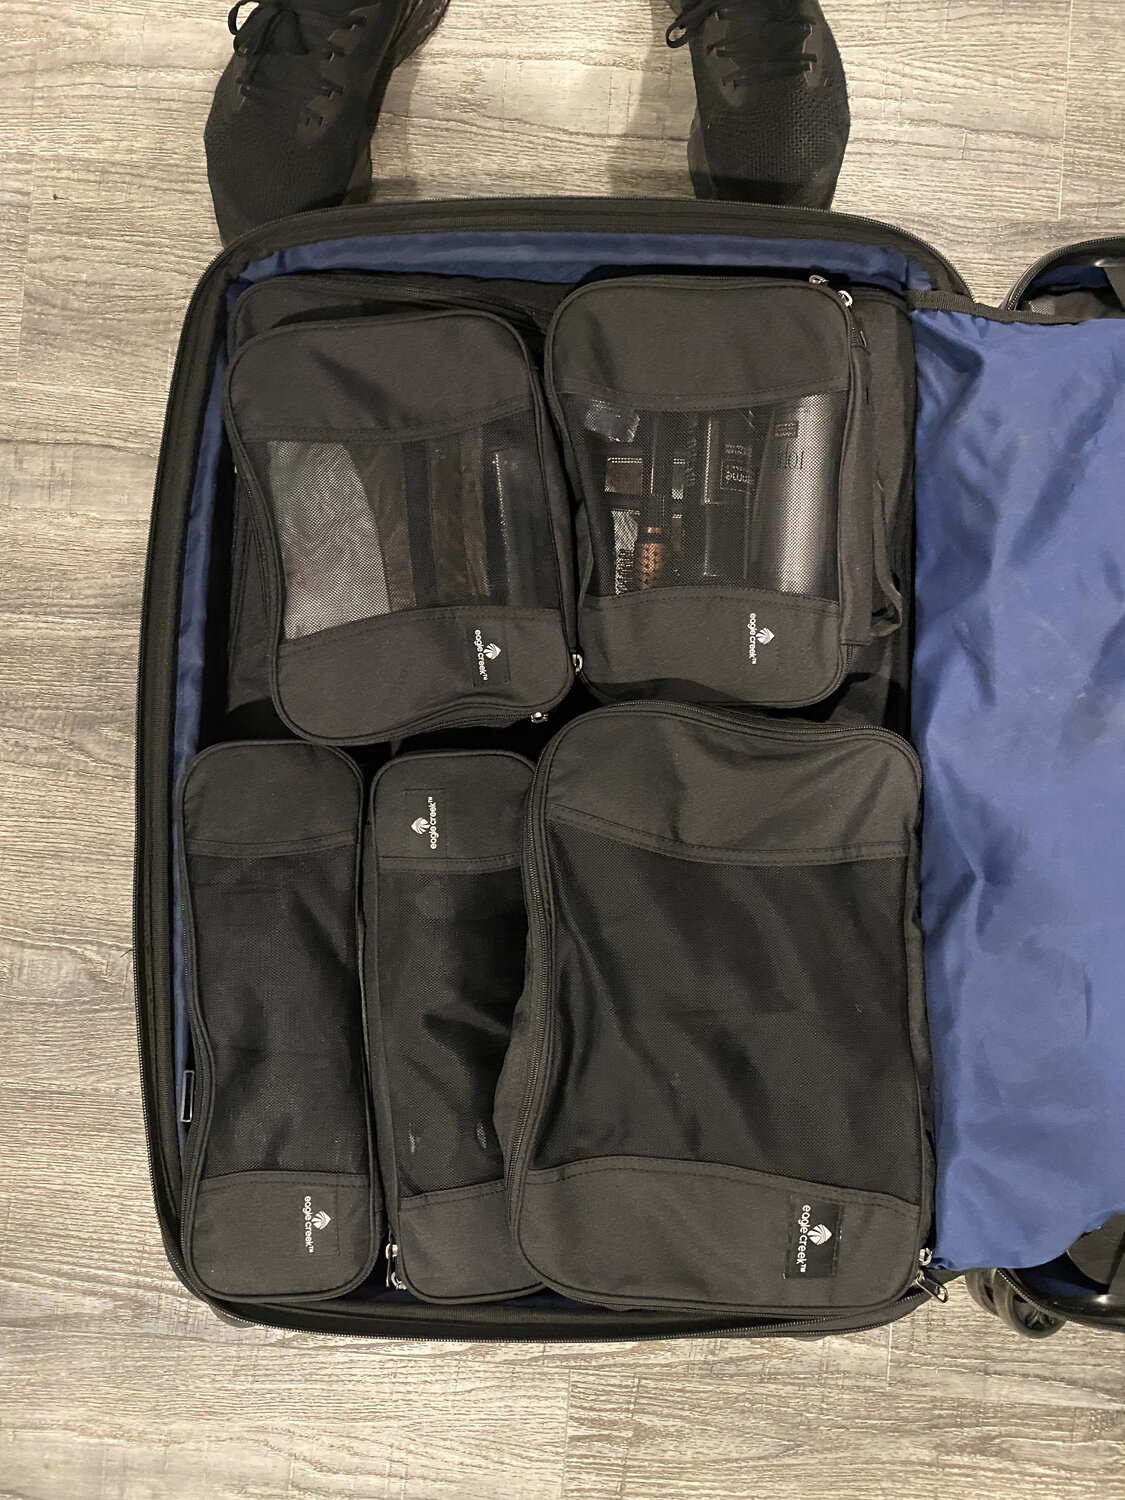
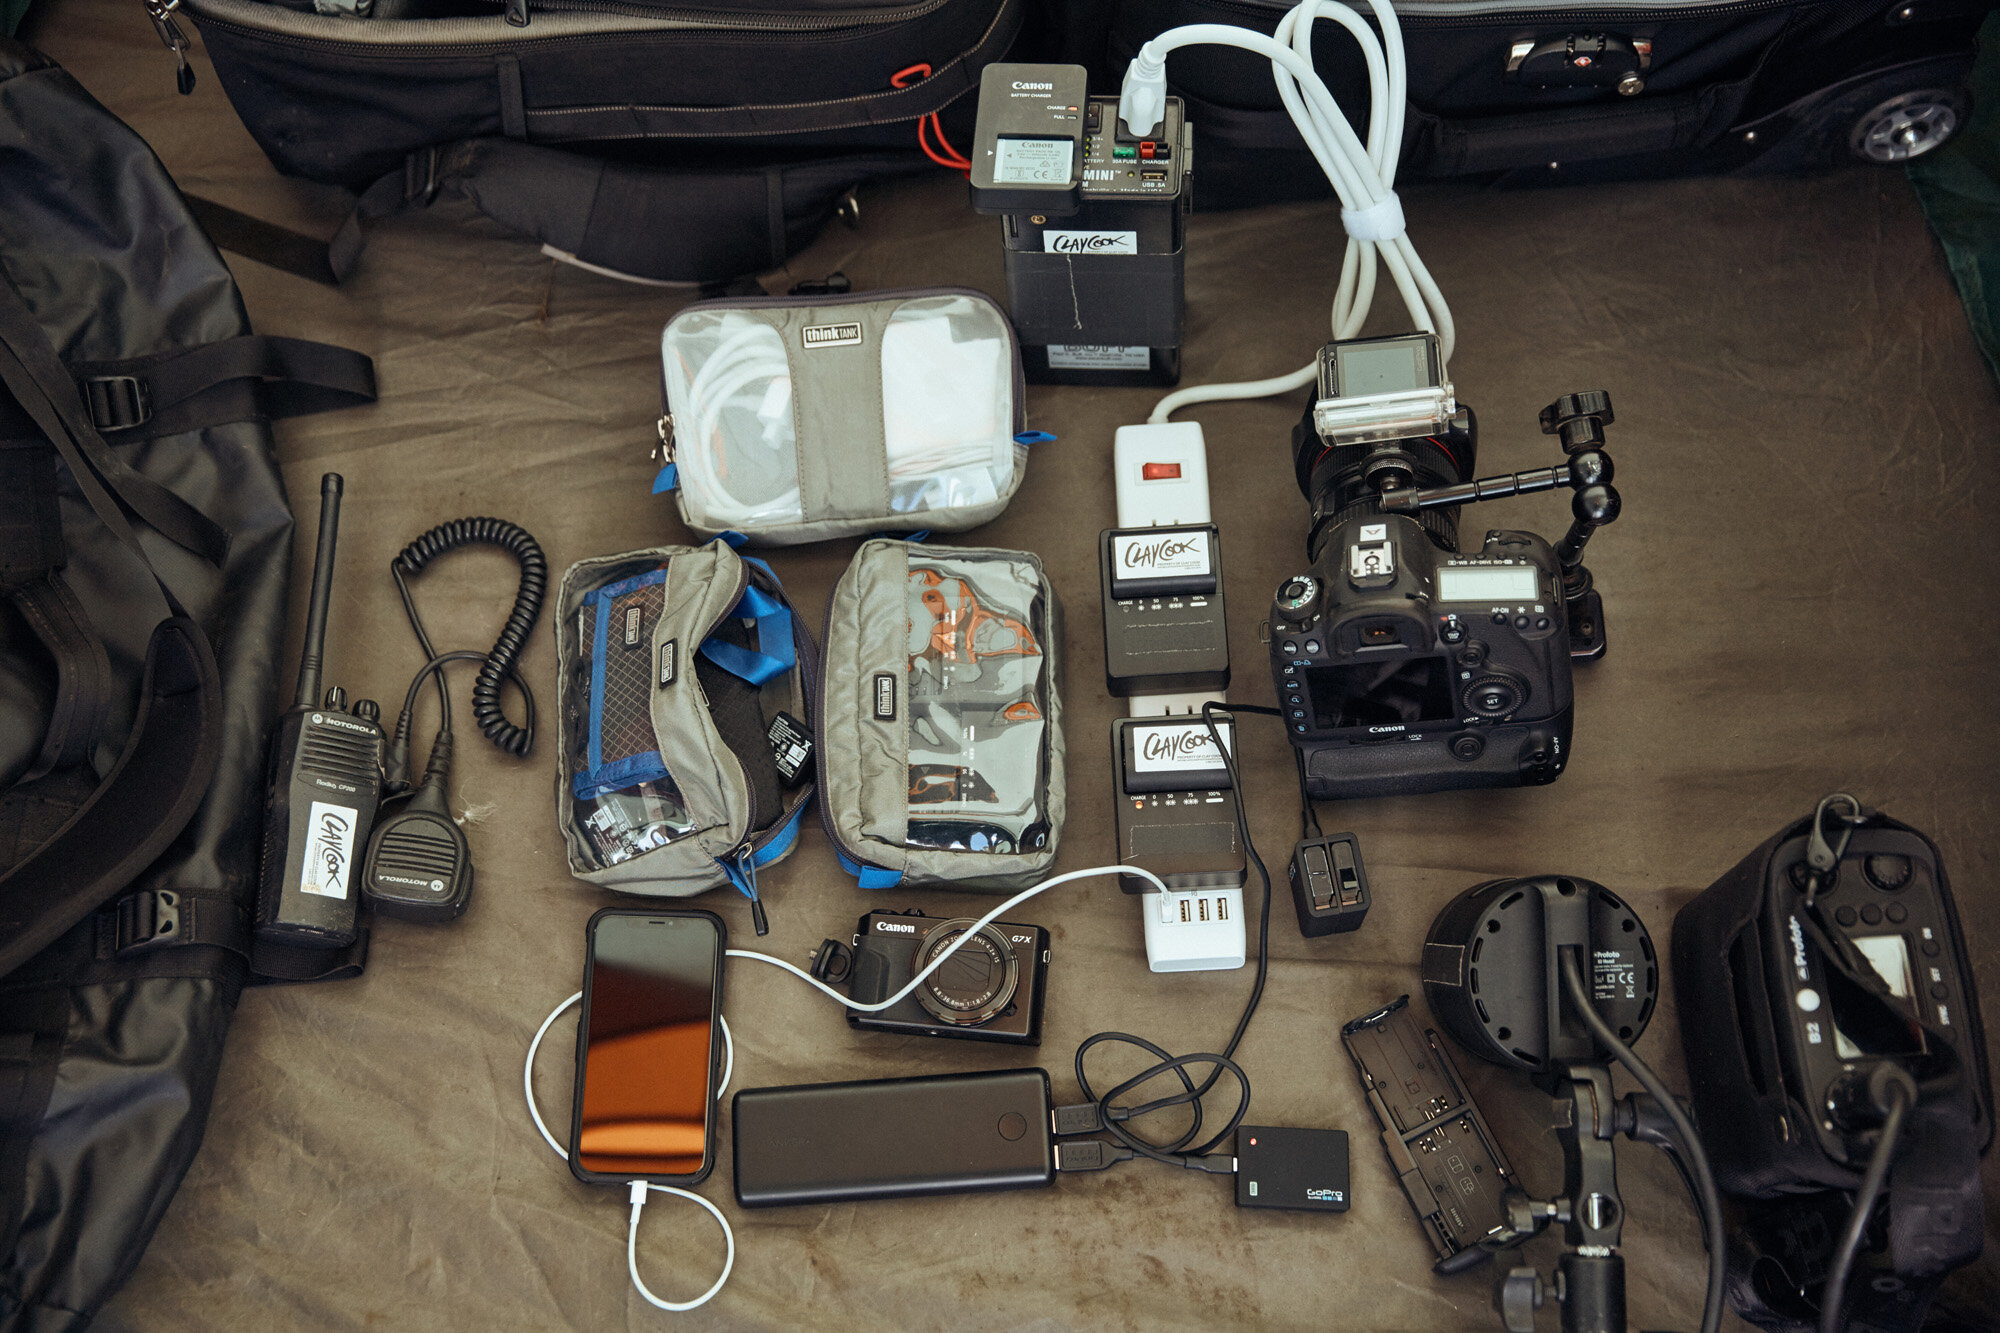
Contain and Pack Everything Down. I always pick up a box of 2-Gallon Ziploc Bags for storing my Green Tea, Supplements and Trail Mix. I use the Think Tank Photo Cable Management 10 cases for small photography accessories and the Think Tank Photo Cable Management 20 for larger photography accessories. I use Eagle Creek Packing Cubes for clothing and Outdoor Research Ditty Sacks or Zip Sacks for miscellaneous gear such as headlamps, sunblock, insect repellent, flashlights, hand sanitizer, etc.
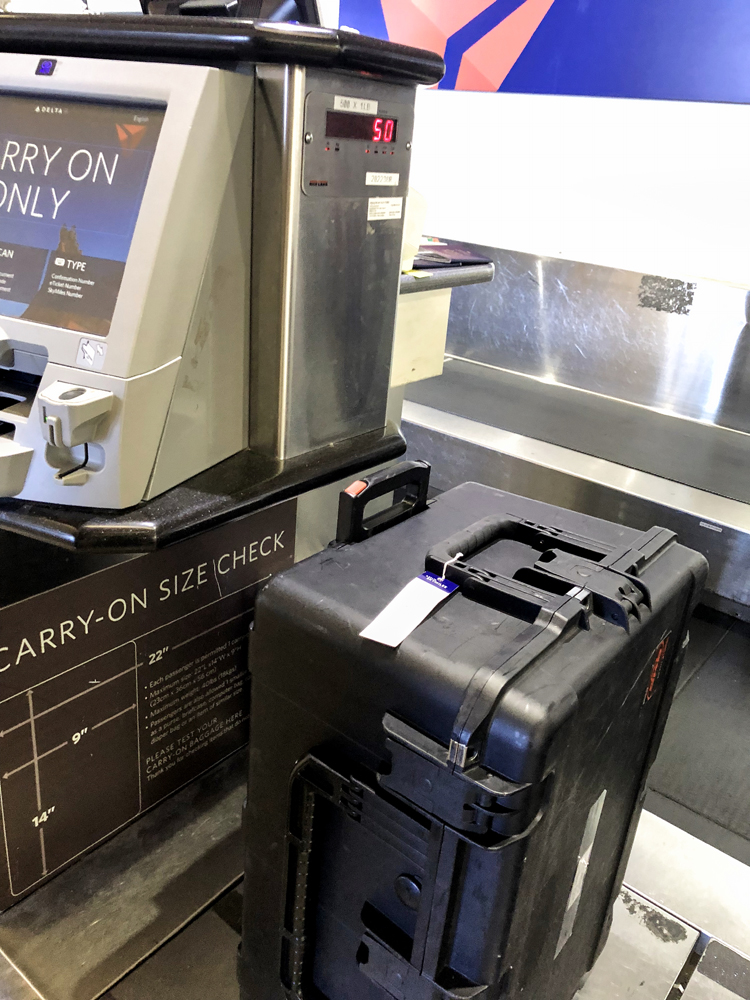
Weigh and Measure Every Bag. Most airlines restrict the weight checked baggage to 50lbs or 22.68kg. The weight restriction of your carry-on can vary from 15lbs/6.8kg to 50lbs/22.68kg, but most airlines do not weigh your carry-on, but the size matters. The maximum dimensions for a carry-on bag are 9 inches x 14 inches x 22 inches. This includes handles and wheels.
The maximum size for a checked bag is generally 62 linear inches, meaning you must add up the height, width, and length of your baggage. For example, if the baggage measures 28 inches x 20 inches x 12 inches, that works out to 28 + 20 + 12 = 60 linear inches. Keep in mind, you can’t bring a case that is 60” inches in length without paying for oversize fees. Purchase a Portable Luggage Weight Scale to make sure every bag is under the weight limit, so you’re not susceptible to the overweight baggage fees that can be very expensive. I like to leave about 2-4lbs of empty weight in my checked baggage just in case I find a souvenir or two on the ground and want to bring it home.
If you want to carry-on only, go for it. I prefer to check one medium size bag for clothing, jackets, boots, toiletries and other gear I just can’t carry-on (due to size) such as backgrounds, grip, light modifiers, and my multi-tool. If you do decide to check a bag, I recommend packing a small packing cube with an extra shirt, underwear, and necessary toiletries into your carry-on, just in case your luggage does not make it to your final destination.
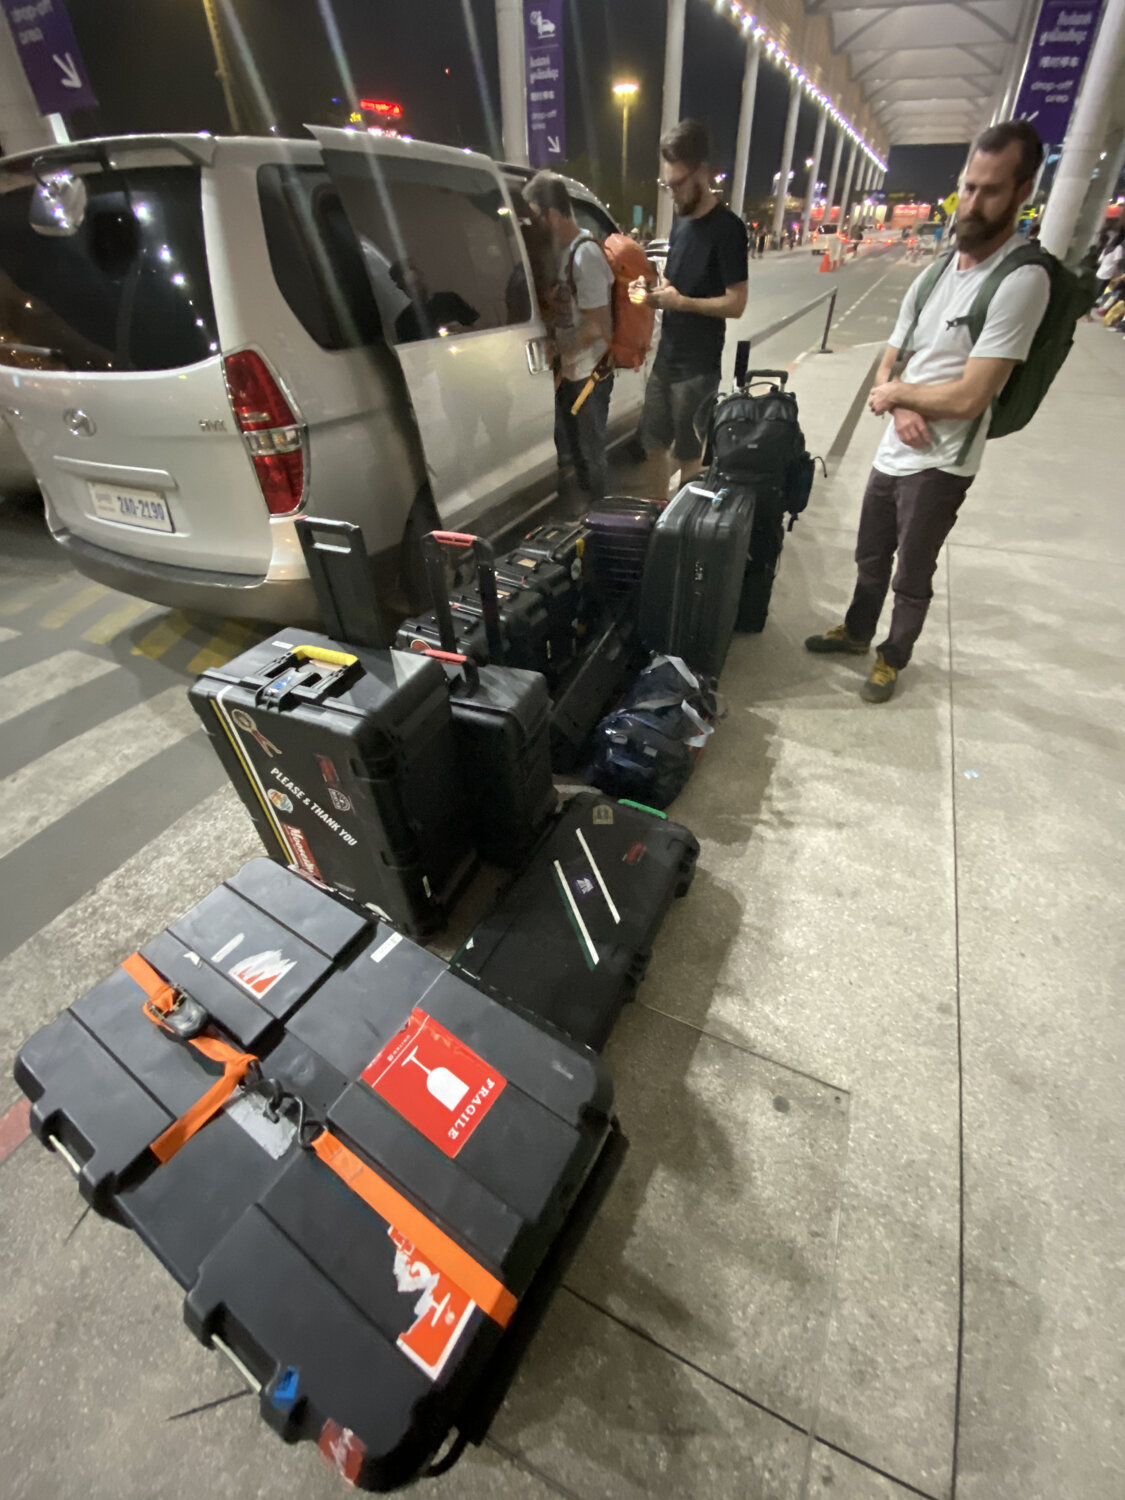
Mark Your Luggage. While it’s important to tie unique luggage tags with your contact information on every case, it’s also important to mark your luggage so that it is easily identifiable when you grab your bag from the luggage belt. There might be a dozen cases that all look exactly the same and time is of the essence, I recommend adding a 6” strip of pink spike tape or reflective tape on every side of all your luggage. It is a good way to pick it out from the sea of other baggage. I don’t use stickers as stickers stand out. The more you stand out the more you provoke risk.
Roll Your Clothing. You may not have the luxury of an iron, so don’t fold your clothes. I recommend the purchase of Eagle Creek packing cubes to reduce the overall size of your clothing. Packing cubes are an amazing tool to save space with everything personal, such as jackets, shirts, pants, underwear, socks, shoes and toiletries.
Leave the Logos. In a nutshell, leave the Tom Ford suit at home. The more you can adapt to the general public dress code, the less you stand out. But, if you’re going to a flashy party or nice dinner, make sure you have the right outfit. The less you stand out the more you mitigate risk. Tourists tend to stick out like a sore thumb, because of what they wear and how they act. If you wear a Philadelphia Eagles trucker hat, you’re a dead giveaway.
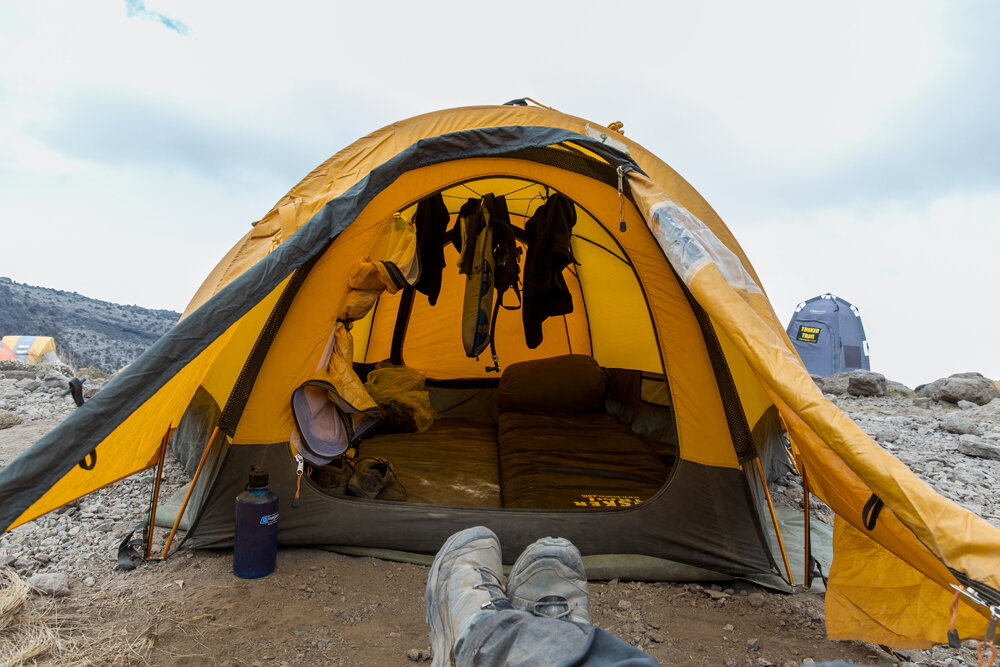
Proper Footwear. I like to wear shoes on the plane that are comfortable and easy to remove but are covered. Do not wear sandals. If the airline loses your baggage, you do not want to be stuck in a jungle or desert with just a pair of sandals. With that said, I like to bring a travel sneaker shoe, my production shoe - such as a boot or waterproof trail runner - and also a pair of breathable covered sandals for evening wear in the tent or in water.
Proper Outerwear. This is where a lot of people go wrong. They assume the weather will be hot, but don’t realize the altitude and consider what the evening temperature will be, so they leave outerwear at home. Bring a jacket and proper layers of outerwear, even if you think you don’t need it. Also, the airplane itself can get cold when flying over water. While airlines do their best to regulate and keep it at a comfortable temperature, it can be tough to heat a big plane at 40,000 feet.
Don’t Leave Necessities. I never leave home without the following items: Hat, Sunglasses, Nalgene 32oz Water Bottle, Buff UV Headband, Black Diamond Headlamp, Nite Ize Flashlight, Leatherman Multi Tool, Sawyer Sunblock, Sawyer Maxi Deet Insect Repellent, Ear Plugs, and Hand Sanitizer.
Two-Way Radios. I always bring a set of 4 Motorola CP200 Two-Way Radios wherever I travel, especially if I have a crew and need to communicate with that crew. They come in handy when you don’t think you need them. Communication is key to production and a radio can be a vital asset. Up the ante with a surveillance microphone and earpiece.
Don’t Forget Cash. I like to withdraw cash before venturing out of the country. The amount is up to you, but I usually withdraw enough to separate evenly (so, I always know how much I have) and place it in various places such as my left shoe, backpack, and wallet. Just in case I lose my wallet or backpack, I know I have the cash to at least hire a taxi or worst-case scenario make a bribe to get where I need to go, safely. Rarely do I spend that cash, but it’s a nice security blanket in case the itinerary goes array.
Equipment
I’m not going to dive into the technical side of camera equipment, but there is some practical travel gear I highly recommend to make your life easier while abroad.
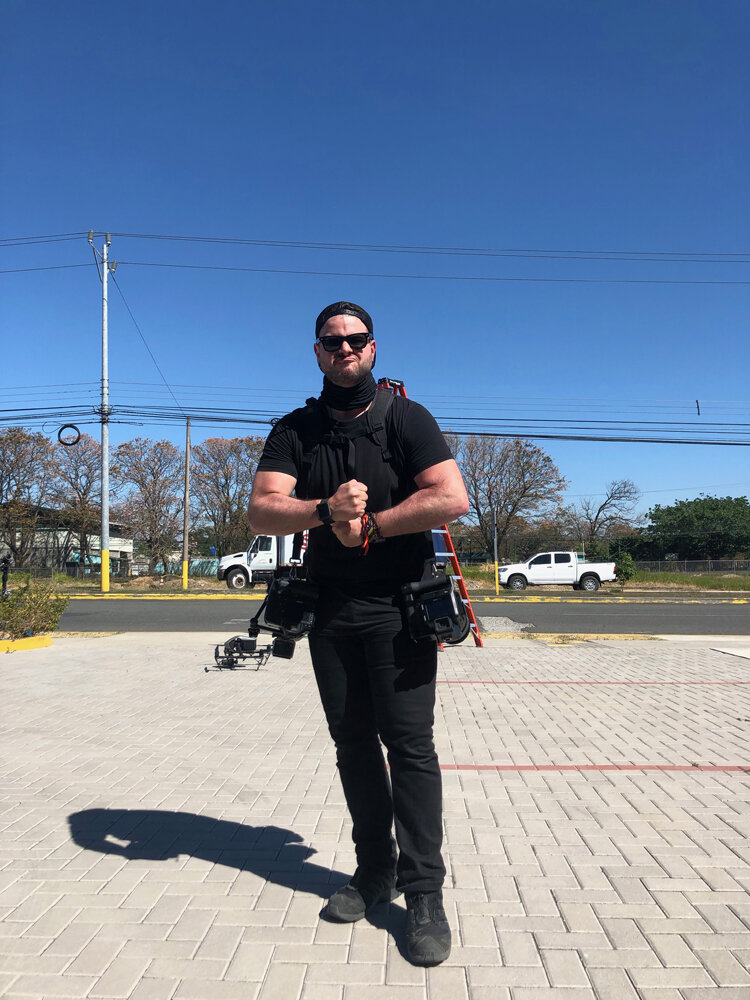
Run-Gun Bag or Belt. Once you’ve arrived at your destination, it’s highly unlikely you’ll want or need to lug all your equipment around from place to place. I highly recommend bringing an additional smaller bag such as a Think Tank Photo Retrospective, a backpack or a modular belt to keep your gear lightweight and off the ground. Leave the unnecessary equipment in the hotel or home and only take what you need for the day. Even if I’m not shooting, I love taking along something like the Eagle Creek Wayfinder Waist Pack or the Outdoor Research Isolation Pack HD.
TSA Luggage Locks. Use a combination lock on every piece of luggage. Memorize 2 different 3-digit codes and switch it up. For most luggage, thread the bolt through the two zippers so you have to unlock it in order to unzip a bag.
Add GPS Tracker. While this isn’t imperative, I always add a GPS Tracker to every single piece of luggage, so I know that my cases are riding alongside me the entire way. If they aren’t, I can get ahead of the game and report it. When you’re on the ground providing a GPS Tracker to a friend or a local driver can be very handy in case people get lost. In many cases, cellular service just doesn’t exist.
Hard Drive Backup. Bottom line, fast internet just isn’t guaranteed. If I do have the opportunity for internet access, its high un-likely I’ll have the time or speed to back up to a cloud service. The HyperDrive ColorSpace Wireless Storage Device has been a crucial device for backup on the road. If I’m in an exotic place, I don’t want to have to break out my Macbook and Lacie Hard Drive every time I need to back up and dump a memory card. These portable wireless storage devices from GnarBox or Nexto are incredible devices to have for the extreme run and gun photography or film production.
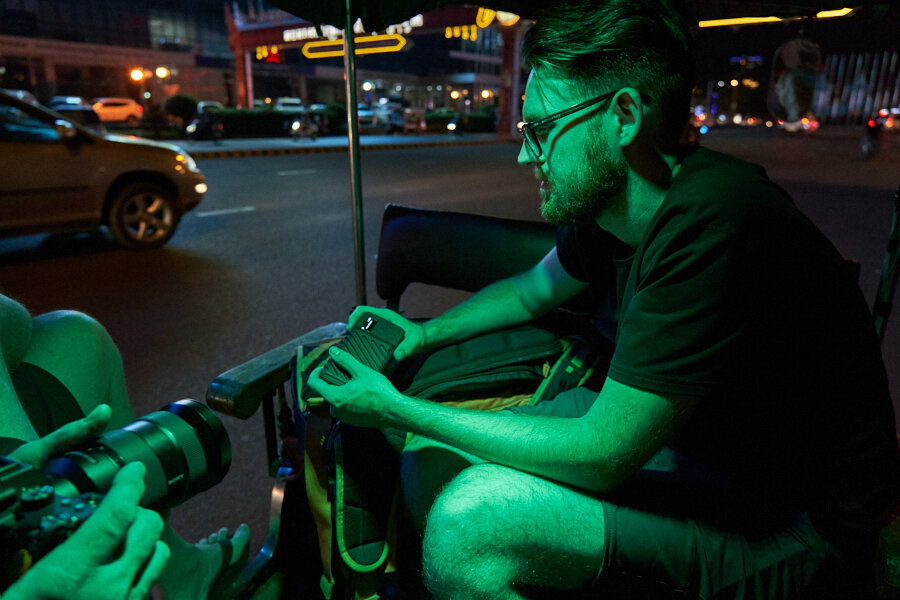

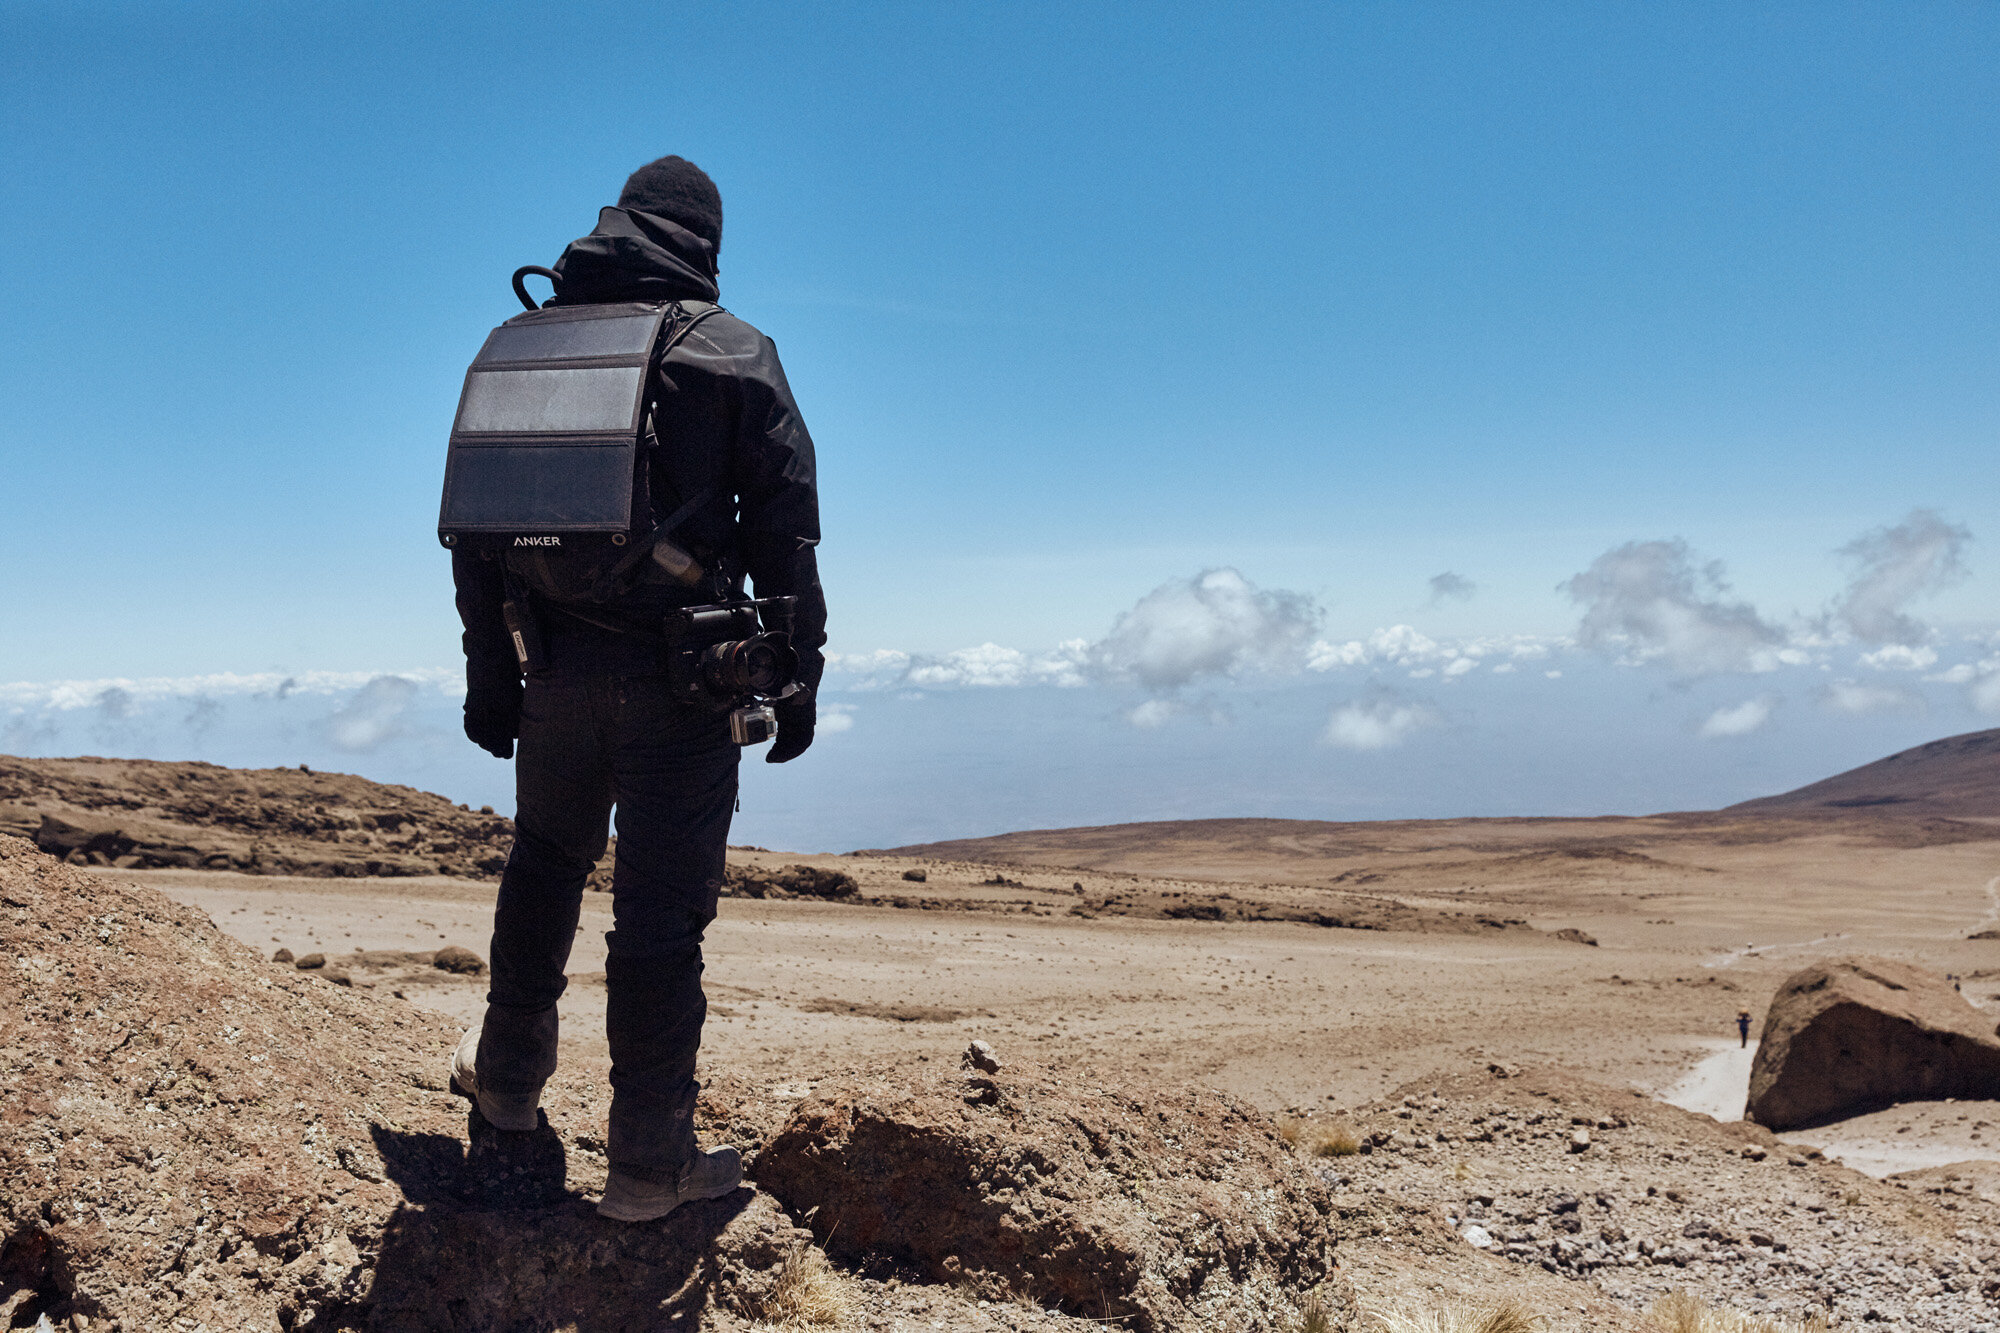
Portable Power. I’m a huge fan of portable power. I highly recommend packing multiple backup batteries to charge miscellaneous accessories such as a smartphone, smartwatch, laptop, headphones and more. I mostly rely on the Anker PowerCore 20100, which is a heavy duty external battery able to charge an iPhone up to 6 times featuring dual USB 3.0 ports for charging two devices at the same time. I also recommend the Paul C Buff Vagabond Mini, a large portable battery that can not only support flash units, but power or charge anything else on the go. The Vagabond Mini has come to the rescue, countless times. Keep in mind, you cannot check lithium batteries in your flight luggage. You must carry lithium batteries with you at all times, always. If you want to dive deep into all all the portable power I use, check out this blog post: Anker: Empowering My Mobile Life.
Airline Comfort
Over the years, I’ve flown a lot of miles both domestically and internationally. I’ve sat in a lot of seats, in various comfort levels and had loads of crazy stories. I fly on a budget(or client budget), so I’m always in Economy or the lowest class of seating. But I’ve found ways to better fly in comfort and set up my “world” a.k.a. my seat to be a home away from home.
Stretch Before You Board. Believe it or not, I find stretching to be a crucial regimen before boarding a long flight. I work my lower back, my quadriceps and even my upper body. Find a corner of the airport and stretch your muscles. I recommend the hip flexor stretch using a standard airport bench and hip rotator stretch using either the seat or elevated surface as seen below.
Seat Cushion and Lumbar. Your butt will thank you. I’ve found on the 8+ hour flights it is always my rear end and my back that suffer the most. I’ve found having a seat cushion such as a Purple Portable will save your behind. It’s not filled with air like most, which can be embarrassing on a flight and its low profile, so you don’t feel like you’re sitting too high. The Portable version fits perfectly in the front of my Think Tank Photo Airport International roller case. Also, the Purple Lumbar could be a good investment, although I’ve found an airline pillow does the trick behind the back.
Skip the Line. People will start lining up wherever they see a line. Make sure you’re in the proper line and try to get ahead of the line by anticipating the call to board. If you’re flying internationally, I sometimes position myself with the first call of priority boarding even if I don’t have the ticket for it. Rarely, if ever will they stop you.
Everything To The Overhead Bin. Once I arrive to my seat, I like to grab everything out of the seat pocket including the magazines and vomit bag and place it in the overhead bin. I also leave the pillow and blanket in the overhead bin until I want to try to sleep. That extra room can go a long way to storing everything you need for the long haul, including a battery charger, snacks, green tea, extra headphones, earplugs, a pen, cables, etc.
Time Suck Tips
Earplugs, Melatonin, Sleep. If you want to expedite the flight time, put in some earplugs, take a swig of liquid melatonin and cruise back on your seat a bit. You may have noticed; I didn’t include a neck pillow or anything of that nature. I don’t like them. I much prefer using the pillow provided on the airline, so I don’t have a pillow I have to carry around. They’re a big pain to strap on and have on your person. I’ve tried nearly 5 different pillows, even the crazy inflatable ones. It’s just not my preference. I also find that playing “Meditation Music” can help drown out the sounds of a flight and it will often put me to sleep.
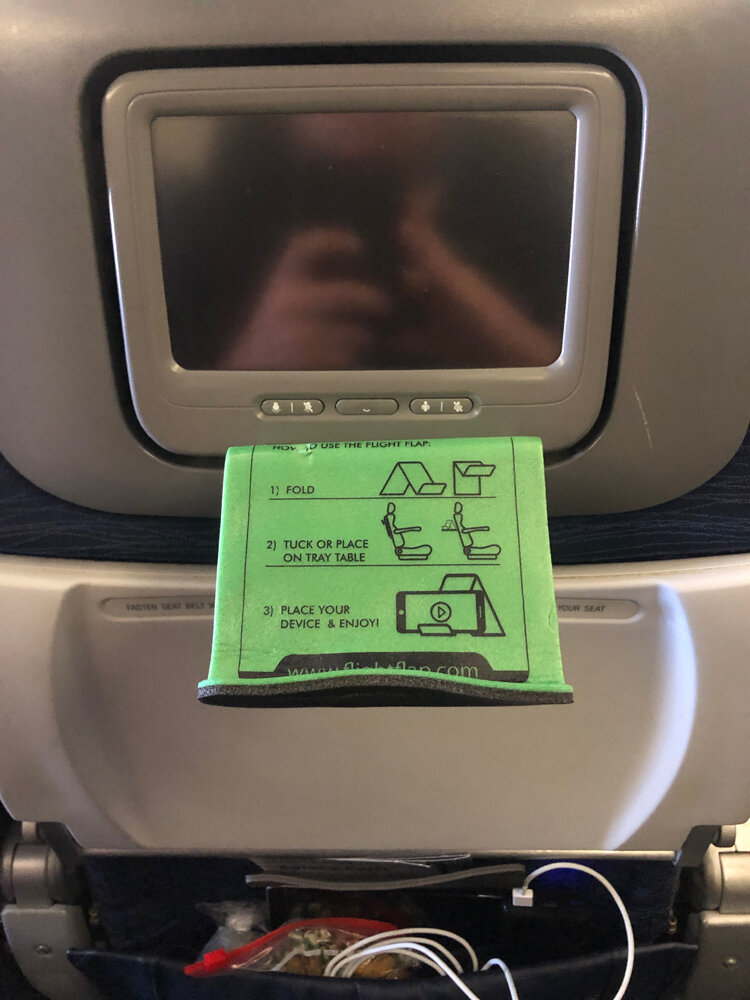
Bring Your Own Entertainment. Most people decide to watch movie after movie on the 720p monitor on the back of every headrest. Don’t get me wrong they do have a solid selection of new releases and hit programming, but I’d rather select and download my own entertainment from a 4K iPad. Also, this allows me to use Bluetooth wireless headphones rather than the wired headphones or worst-case scenario the complementary headphones the airline provide. Those are the equivalent to putting a piece of tire in your hear and trying to hear through a string and tin-can. As far as mounting the iPad I recommend the Flight Flap. It doesn’t look like much, but it’s practical and it works. I’m always asked about it every time I fly. Personally, I love to download an entire television series to binge. Binging the Netflix series “Narcos” on the nonstop flight to Bangladesh made it seem like a jump to Las Vegas.
Read A Book. Sounds simple right? Just like binging a series, binging a book is all the same to me. Once I focus on an engaging read, a book can make time fly right by. On my way back from Tanzania recently, I was sucked into “Lone Survivor” by Marcus Lutrell. A Navy SEAL's firsthand account of American heroism during Operation Red Wing in Afghanistan.
Do’s and Don'ts
Do Know the Seat Numbers. This is simple and easy to figure out as soon as you board. While you walk down the aisle pay attention to the seat numbers and letters. Know your seat number and familiarize yourself with the system to avoid disrupting the boarding process. Once you arrive at your seat, step out of the aisle to let others behind you pass.
Do Drink Water. Set yourself up for success by placing yourself near a restroom and keeping your water bottle down from the overhead bin. The stewards are always happy to re-fill a water bottle. Unless you’re stuck in a middle seat, hydrate as much as possible. This will ultimately reduce bloat, hunger, soreness, and jetlag.
Do Keep your Socks On. No one wants to sit around a smell. Also, put your shoes back on before you use the restroom because that’s just gross.
Do Respect the Restroom. Clean up after yourself. If you drop toilet paper, pick it up. If you miss the toilet seat, clean it off. If you see a mess, pay it forward and help the stewardess. And, please wash your hands.
Do Respect Personal Space. Keep to your personal space and don’t encroach on others. Be respectful of others while they’re sleeping. Watch where you’re going, avoid bumping into people’s arms while walking down the aisle and jerking the headrest of the aisle in front of you while standing up. Don’t recklessly jerk the table in front of you back and forth. Don’t be the person that pushes their seat back all the way the entire trek. And, please don’t assume both armrests on either side are for your use only.
Do Help Others. Be kind, we’re all in this together. If you see someone struggling to put their luggage in the overhead bin, help them out.
Do Hustle. Make ready and get moving. The faster you move the faster we can get off the plane and get to our destination. Before the plane lands collect your belongings and organize your mess. Once the plane lands pack-up and prepare to grab your stuff and get off the plane. The same can be said when you’re moving through an airport or boarding a plane. Text and social media can wait until you’re seated or through the line. When you’re on the move, pay attention and hustle.
Do Lower Your Expectations. This is not your private jet. The flight attendants are not your personal secretary, nor are they there to provide every comfort you’re used to at home. People are different than you. The culture may be different than yours. Everything may go wrong and luxuries may not exist. Be humble, ask questions, lower your expectations and you won’t be upset when something doesn’t go your way. Be prepared in the future with contingencies to mitigate that.
Don’t Talk Loud. This is something that deserves its own paragraph. Did you know everyone around you can hear everything you say, especially when you speak at a loud volume to overcome the sound of the airplane engine? Keep your voice down if you want to have a conversation and respect the fact that others might be trying to read, sleep or enjoy the flight in silence. Keep the personal conversation for a drink on the layover.
Don’t Eat the Food. Yes, this is argumentative, but have you ever tried to intermittent fast? I don’t eat Economy airline food, because it’s terrible food. It sets you up for failure right out of the gate. Most of the food consists of carbohydrates to fill you up fast. You’ll feel bloated and tired, that’s the point. I like to bring your own snacks from Trader Joe’s or Whole Foods to munch on throughout the flight. Remember, the human body can go up to 14 days without food.
Don’t Buy Into the Gimmick. There are a lot of gimmicky products out there, some have entered into a legendary status like the ostrich pillow or footrest hammock. I’ve seen it in action, they don’t work. Most people spend half the flight messing around with the product because they want it to make them comfortable. Guess what? Unless you’re flying first class, an airplane isn’t comfortable. Get used to it.
International Customs
I’m fortunate. With all the exotic places I’ve visited, I’ve never been pulled to a dark conference room and questioned about my reason for visiting the country. However, I have sat and waited for long periods of time at the desk, glazed over to a million crazy thoughts like flashes of light, only to be waked by the loud thunderous stamp on the visa for approval and the wave to move across the line.
Making your way through customs can vary, a lot. It depends on the visa process, the country, their resources and the airport itself. Some take your fingerprint, some give you a slip of paper that you dare not lose, most take a picture of your face, some simply barley look at your credentials, stamp the visa and wave your through like a theme park ride. It’s important to do a bit of fact-checking and research regarding the visa process before you even book a flight.
If you’re traveling as a photographer or journalist, do your research on culture faux pas and exploitation regarding photography and equipment. Do the research on what equipment is legal and illegal. Ultimately, it’s up to you to decide if you want the proper permit for photography and motion or you want to travel under the radar as a “tourist.” It could change the visa process entirely.
The process for a visa to India requires an extreme amount of paperwork beforehand, while the visa to Tanzania is a quick $100 cash and one document which you can complete on the way into the country. But they don’t accept credit cards. With that said, do the research or you’ll regret it. You can show up only to be stuck and turned away because you don’t have the right paperwork, currency or credentials. The visa process can be crazy, but basic common sense still applies.
Fill Out All Documentation. Generally, many countries require a tangible document to enter the country. In most cases, the stewardess on your flight will hand out the documentation for you to fill out before you enter customs. In order to avoid a longer wait, be sure to fill out all this information before you land. If you’re asleep and missed the handout, double-check by asking a stewardess. Heads up, you’ll need something to write with, so be sure to pack a pen on you where it can easily be accessed throughout the flight if need be.
Get Off the Plane and Get In Line. It’s very likely, no matter the destination, you’ll run into a long line when you walk into customs. If you manage to get off the plane first, awesome. But, if you find yourself at the back of the plane, just prepare yourself for a wait. If I do find myself in that situation, I will literally run to grab myself a nice place in line before those walking like a zombie into customs. It’s always a process that can take some serious time, so make sure you consider that time when making plans to grab checked luggage and meeting a fixer, friend or driver.
Speak Confidently and Know the Itinerary. A customs agent will ask questions if you’re unsure or they think you’re serving up a story. It’s important to know where you’re going, where you’re staying, who you’re staying with and who will be taking you there. In many cases, all those questions will be asked. If you’re unsure of your hotel or AirBnb information by memory, remember to have a printed/laminated card with that information (in multiple languages) on you at all times for not only customs but also locals who may drive you along the way.
Customs Security. Don’t be alarmed if they decide to check your bags before exiting the airport. I tend to do my best to hustle, blend into the crowd and pass the line if possible. But, if its required, obey the rules. Don’t be an asshole, security is there for a reason. It’s extremely important during this process to keep eyes on all your bags at all times. This is where bags get stolen.
Schedule a Ride. Once you exit the airport, you might be bombarded with offers for rides, hotels or tourism. The best way to avoid all of that is to schedule a ride beforehand, stay laser-focused on your pickup and doing your best to wade through the crowd to find them. Keep your eyes on all your bags at all times. If you didn’t schedule a ride, get out of the crowd, take a breath and find the nearest taxi, tuk-tuk or Uber to get you where you need to go. Don’t fall into the tourist trap of hustlers right out of the gate.
Boots On The Ground
Work With Local People (Fixer). The type of person that “goes with the wind” is the type of person that generally gets sucked into tourist and expensive options. While Yelp can be a great resource, it’s better to establish a relationship with a person who lives near the area and can speak the local language and translate for you. A trusted fixer on the ground can be a vital support system for navigation, saving time, saving money and avoiding the crowded tourist traps. I recommend seeking this relationship through referrals beforehand, along with your own research beforehand. If you come up short once you land, money talks.
While you may want to hit some of the more popular tourist attractions, the sure-fire way to make the most out of the trip is to avoid the expensive tourist traps and experience the local flair. I recommend mixing and mingling with friends of local friends at local establishments. Life-long relationships can be formed, especially in the age of social media where it is so easy to keep in touch and keep up to date on the lives of people. Much of my timeline features people on the other side of the world and it’s super cool.
Health & Cleanliness
It’s absolutely imperative that you do your best to stay healthy and clean during your trip. Now, that doesn’t mean you need to shower every half hour or floss twice a day, it does mean making a conscious effort to wash your hands and spray hand sanitizer when you use the restroom or shake hands with someone. It means making an effort to not drink tap water or pet the stray dog walking down the street.
Ice = Tap Water. While ice in every beverage is more of an American habit, be sure to keep in mind that people with unsafe drinking water probably don’t have access to ice and they likely aren’t freezing bottled water. Even if you opt for a cocktail in the evening, keep in mind you could be setting yourself up for sickness with a waterborne illness through the ice. My recommendation is to leave the ice unless you’re sure it came from bottled or clean water.
Apply Mosquito Repellent. Mosquitoes are the most dangerous insect in the world, far surpassing any spider, hornet or bee. Because they feed off blood, they can carry deadly illnesses and can deliver a potentially life-threatening disease only to leave behind a red, extremely itchy mark. Do your best to prevent mosquito bites however possible. Sometimes, I prefer using a mosquito net during the evenings to provide protection while asleep, but if I’m out and about keeping as much skin as reasonable covered with clothing and a good soak of Sawyer Maxi Deet is the best bet.
Apply Sunscreen. This is just common sense, that can fall by the wayside. No matter where I am, I like to apply Sawyer SPF30 Sunblock before I head out for the day. Countries near the equator tend to get hit with more UV and the last thing you want is a bad sunburn to ruin your adventure. If you’re at high-altitude, it’s important to take this even more seriously, you’re closer to the sun!
Use Hand Sanitizer Religiously. Hands are the most germ-infested place on the body. Germs can survive for up to three hours on your hands. The number of germs on your fingertips doubles after you use the toilet and when you don’t wash your hands, you transfer germs to the food and drinks you eat. Nearly 80% of illness-causing germs are spread by your hands. With those facts in mind, wash your hands and use hand sanitizer repeatedly throughout the day. I love the credit card size hand sanitizer spray, as it can slide easily into a pocket and won’t leak everywhere. When you shake hands with someone, give yourself a spray. When you eat food, give yourself a spray, when you touch the railing on steps, use the spray.
Bring Wet Wipes. In a developing country, toilets aren’t ideal. And, that’s a nice way to put it. More often than not, it’s a hole in the ground or a barley operational ceramic bowl. Many countries don’t have the sewer system to support and filter paper waste, so people use their hands to clean themselves. Pack in some toilet paper or wet wipes and make sure you dispose of them accordingly. Some countries require paper waste in a bin next to the hole, rather than in the hole, so pay attention.
Drink Water. I can’t say this enough. Don’t be afraid to pound water, just because there isn’t a toilet in sight or you’re simply “not thirsty.” Water is the number one prevention to illness and the number one attribute to positive overall health. I always carry at least a 32oz Nalgene Bottle with me wherever I go, and it’s always filled with clean water. If you run out of the water, take the steps to purchase a 2-gallon carton before you travel on the ground or simply ask to make a stop to pick up a big bottle of water. Never go for the small 16oz bottle, if you have the option for a 32oz or a 48oz. I also like to carry water purification tablets in my daypack, just in case you have to fill up on the trail with unclean water.
If you do catch an illness or get what is known worldwide as “Delhi Belly,” then do your best to double down on water, green tea and natural supplements like Ginger, Lemon, Cinnamon, Peppermint and Garlic. Get as much rest as possible and hopefully, you can kick it and get back out on the ground.
Food
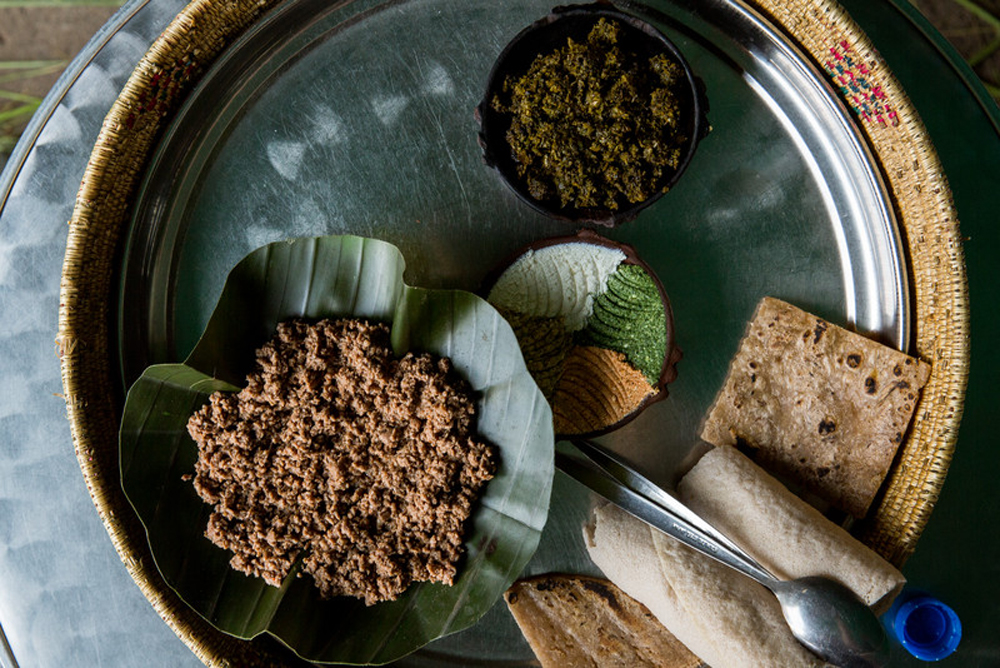
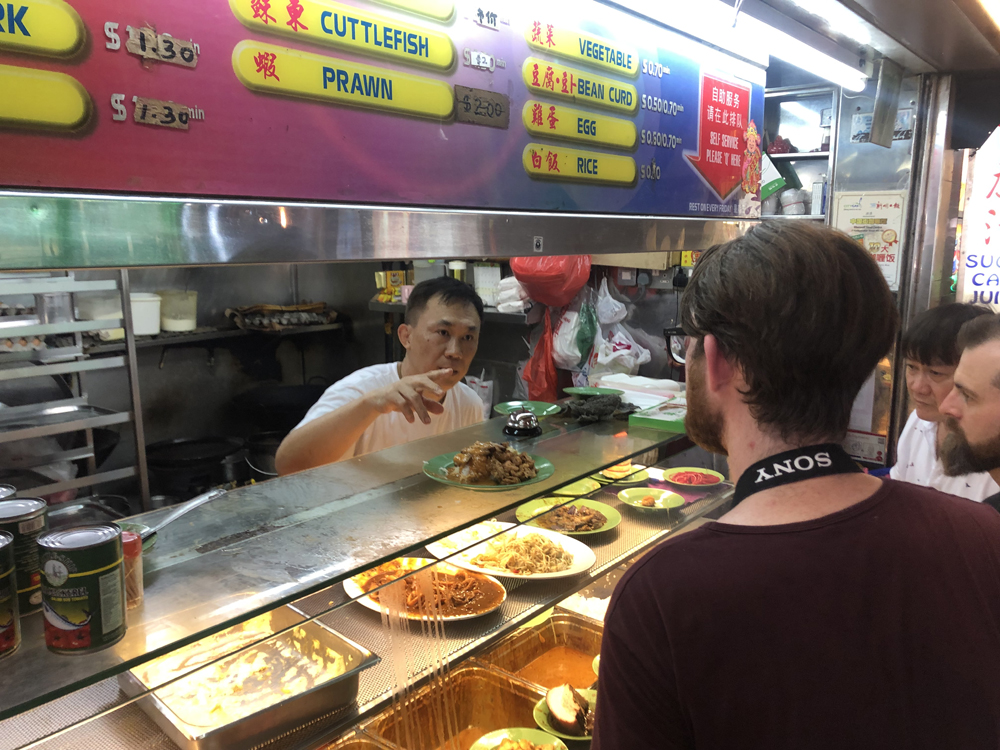
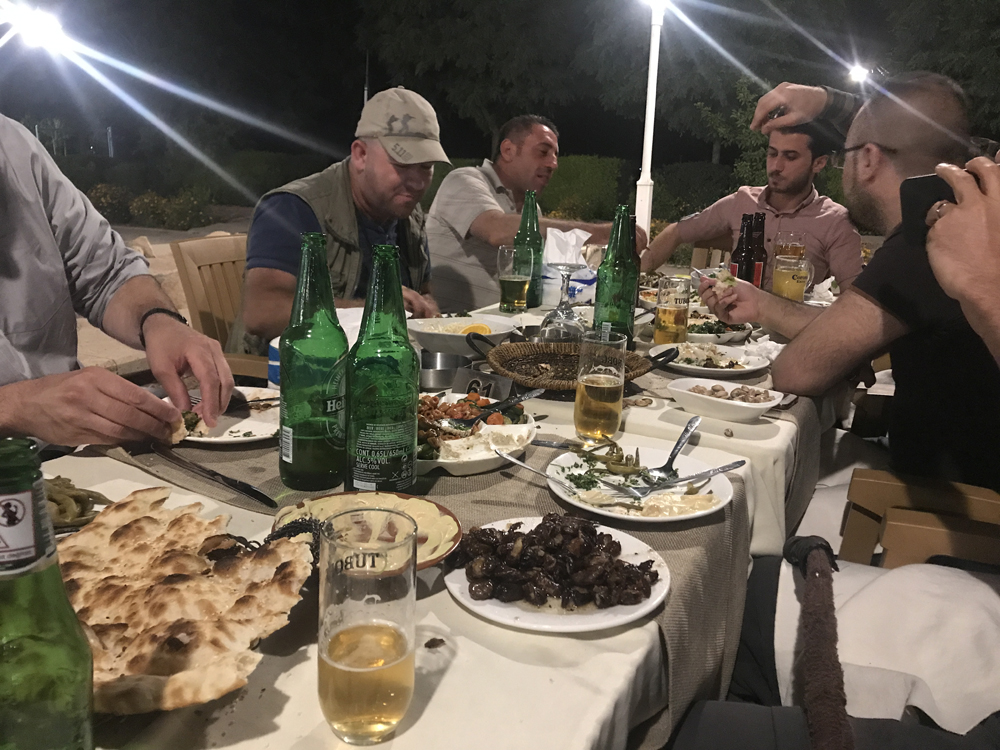
I think more often than not, food is overlooked when it comes to travel. People tend to splurge, eat whatever they want, whenever they want. I’m guilty. When I travel, I drink a bit more than I should and eat whatever I want. But, if you want to experience the rich culture and not overdo it, pick your battles and stay conservative on what you put into your body.
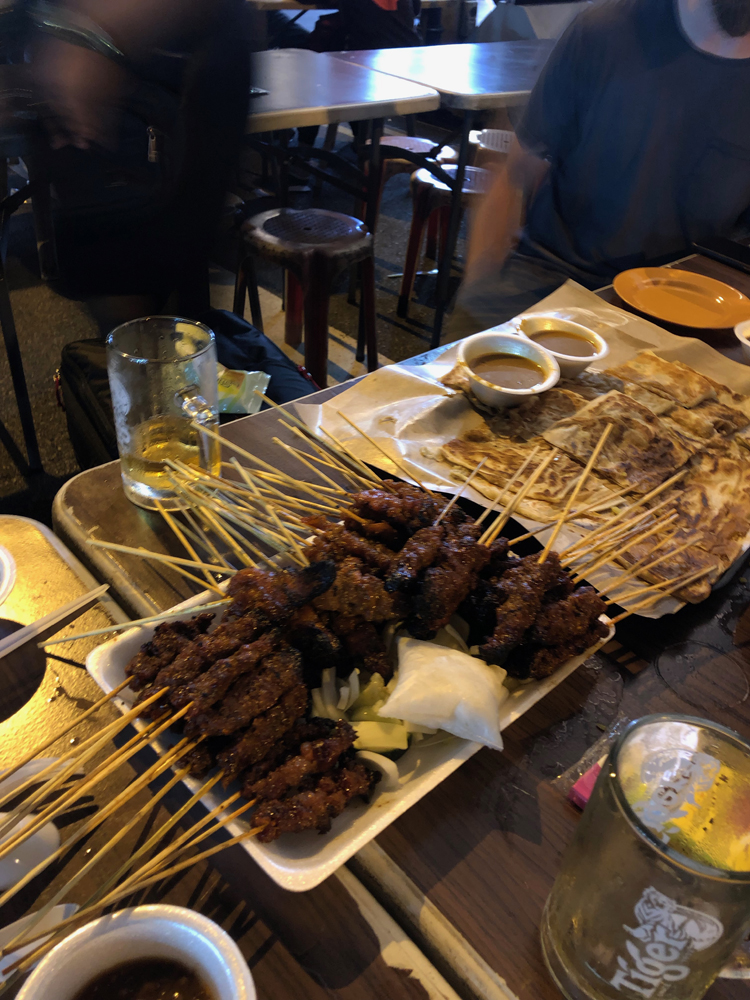
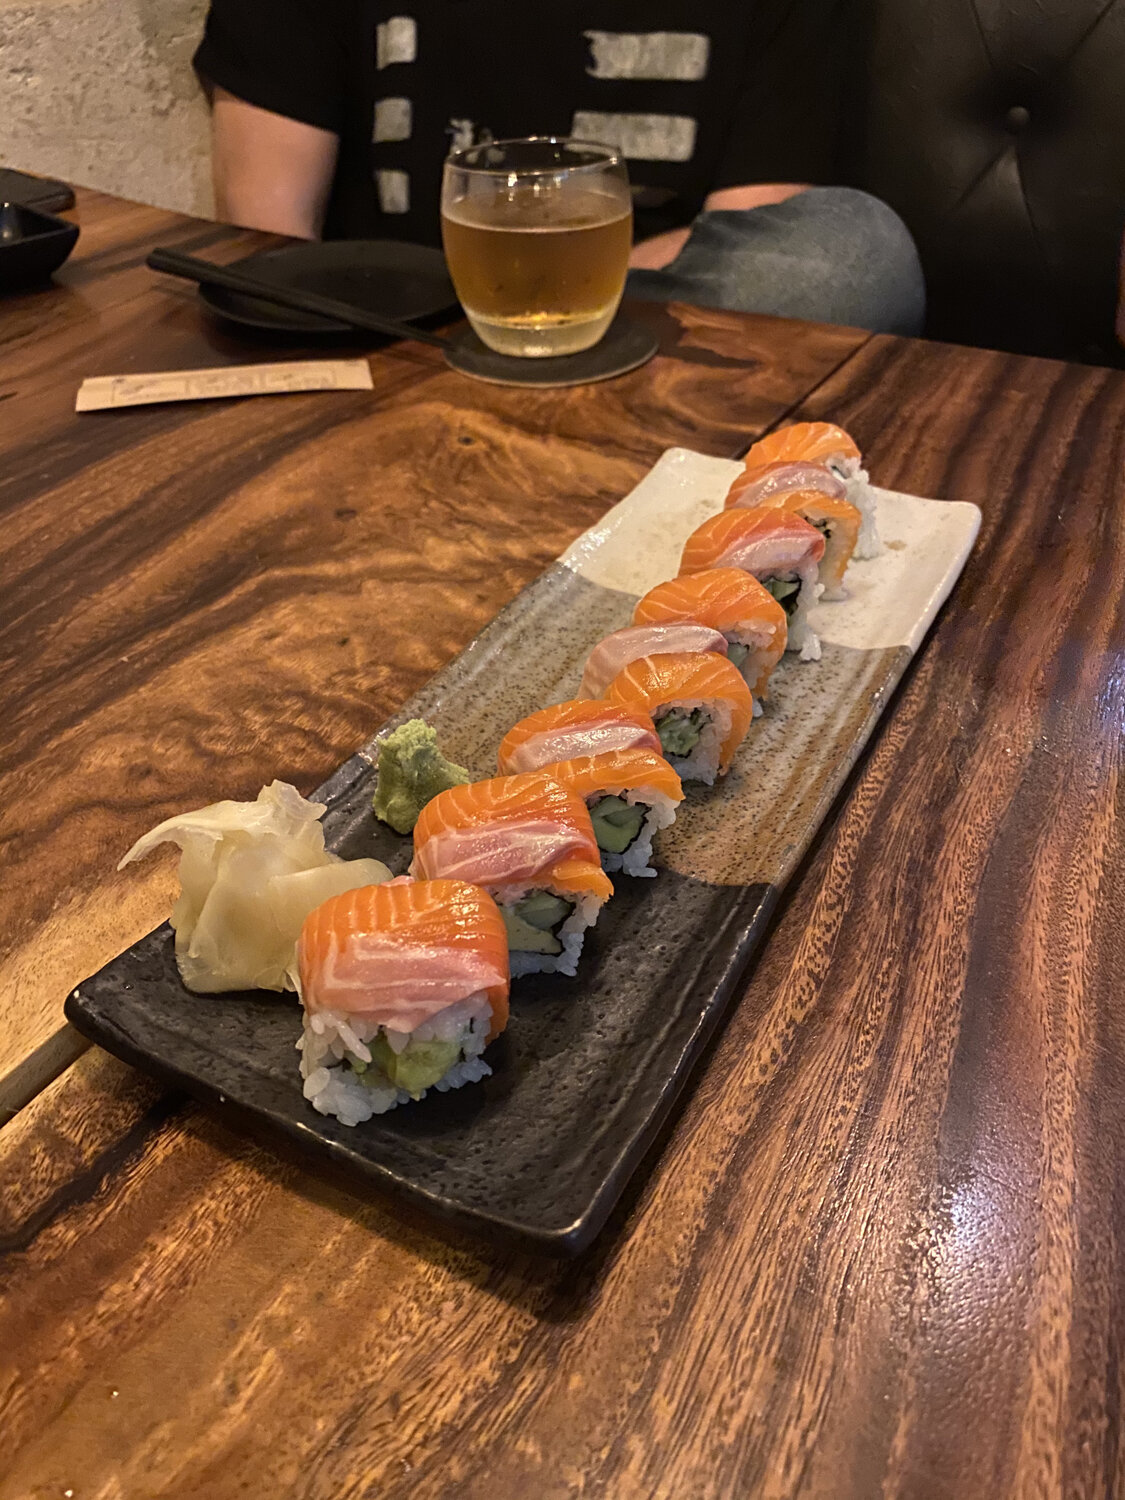
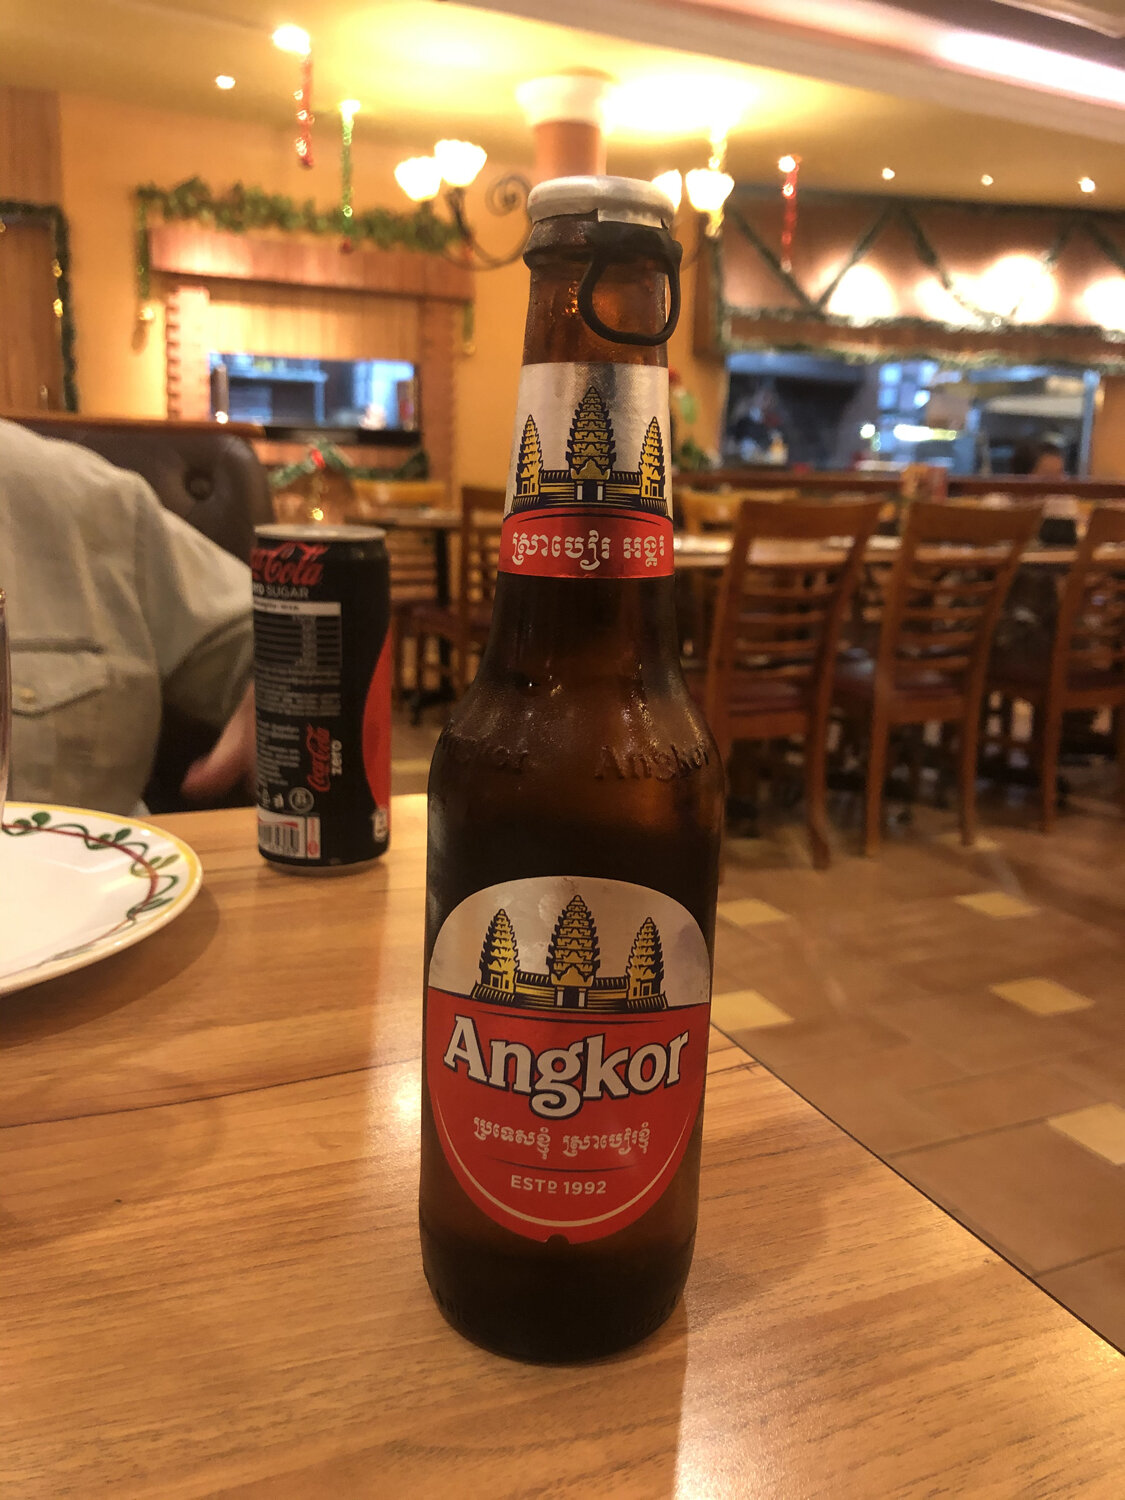
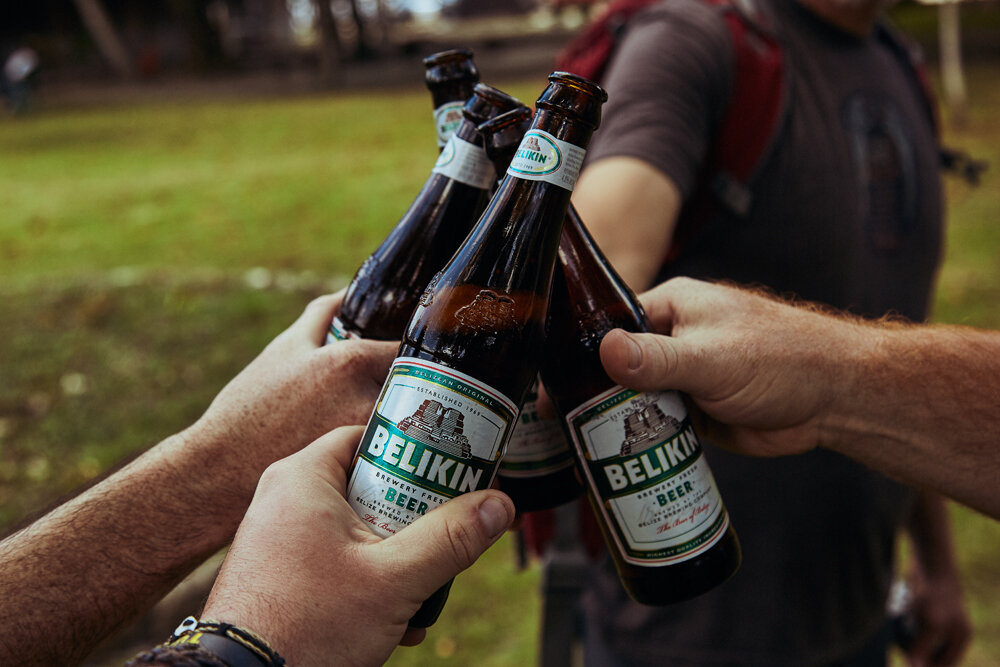
With that said, I urge you to explore the local food and expand your pallet. Open your mind to new food, new drink, and culture beyond what you know. It truly does enlighten and can add to the list of great stories in your memory bank. While I tend to go hard in the paint and dive right into the most local dish possible if you do decide to stick to what you know for the main course, try to dip into the local flair with a small bite or a local beer. I think it’s true what they say: food, culture, and landscape go hand-in-hand. Some of my best memories on the job and out of my country were created over the dining table.
Respect Culture and Environment
The world is a big place and the more you travel the more you will see that. There are 195 countries with thousands of languages, thousands of religions and thousands of cultural rites, policies and etiquette. The top of your priority list should be research into that tradition. Learn a bit of the language, learn the rules, learn what you need to do to respect these cultural differences when in country. Many of these rites have been passed down for thousands of generations and any slip up can result in anger, disrespect and a loss of trust. You can learn a lot by a simple Google search or Wikipedia article.
Before I travel to a new country, I dedicate at least a day into the history of the country, the history of the people and what makes them tick. Research what to wear to blend in, modern manners, majority religious traditions and best practices when approaching, talking, eating and drinking with people. You’ll need to know these customs navigate through foreign city streets, markets and restaurants. Please, don’t be that obnoxious, no common sense, out of place person that gives into the stereotype of the modern traveler.
General Safety and Security
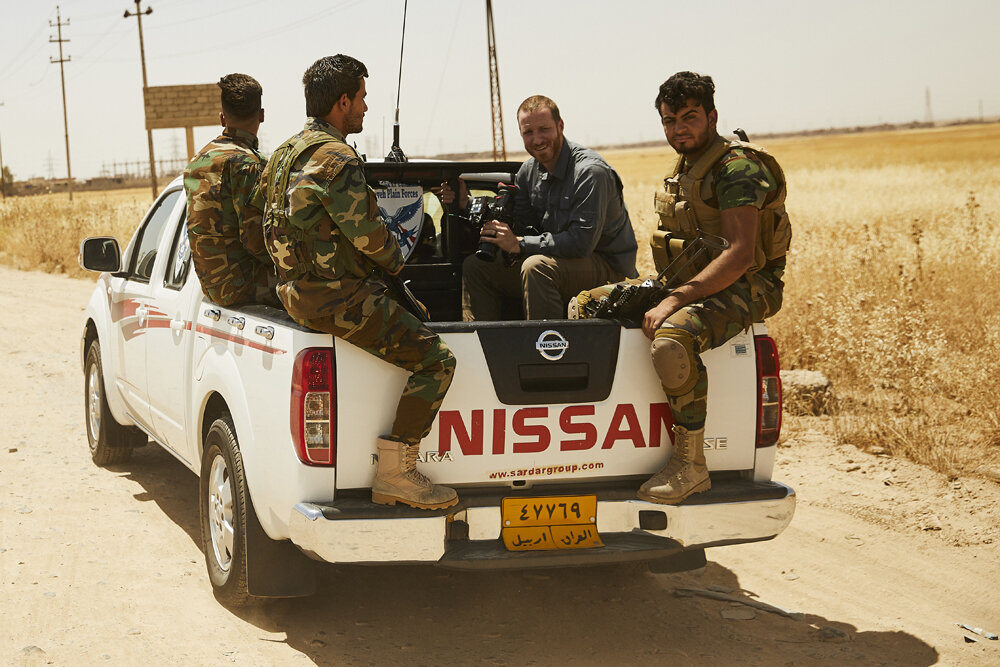
Safety should absolutely be a priority while you’re traveling in any country, especially a developing or country in conflict. I really didn’t learn many of the rules of safety (other than common sense), until I traveled to Iraq with a former Marine and Bangladesh with a small team of Navy SEALs. While they were hired as direct security support, it was wild to hear their stories and pick their brain on what they do and what they watch out for behind our backs. I learned a lot about risk management, strategy and contingency should something go awry. While the focus of safety and security is placed in preventative measures, it’s important to understand what to do should “shit hit the fan” or go wrong.
Mitigate Risk. Use common sense. Avoid people that look like a threat. Ignore people that look intent on taking advantage of you. Know where you are and know where you’re going. Walk and move with intent. If you’re walking just to wander, do not travel alone. Set a rally point(location) and an emergency method of communication to your crew. If you find yourself in the middle of a large group of people, move outside of it. As you move through streets, glance at the hands and clothing of those who pass by you. Don’t take corners too sharp, look and move. Don’t travel on foot at night, especially in areas with no light or no immediate exit.
Keep Your Gear Locked and Tight. The biggest danger that most travelers face is robbery. Even if you’re traveling through the day, keep your gear or personal items zipped, locked and close to the front of your body or chest in easy eyesight. Keep it as light and secure as possible, so if you do run into a problem, you can move with ease and you’re not bogged with weight. I’d advise against bags, purses or daypacks with bright colors or textures that attract attention or look expensive. I’ve heard horror stories of travelers being robbed from a moving car, simply because their items were resting on their lap or being held in their hand, unsecured, windows down. If you decide to bring along a wallet with identification, documents, and cash, keep it secured to your person at all times, do not keep it in your back pocket or front pocket which is easily accessible. Don’t make it easy for someone to grab and go.
Keep Your Passport Locked. I highly recommend keeping your passport locked away somewhere safe at all times and only take it out when it's required. That is your only way home and if it’s lost or stolen it can be a long, arduous process to get another one out of the country. If you’re going down to the market to shop or out to eat, don’t take it, keep it locked in a safe in your hotel room. Only if you’re traveling a long distance, through checkpoints or potentially staying overnight should you take it with you. As I mentioned previously, keep laminated copies on you at all times.
Communication. It’s vital to have the ability to communicate. We like to use two-way radios or set up a group chat in Whatsapp to communicate everything. If you’re in a suspicious area, have a group check-in at any given particular time to make sure everyone is A-OK. Don’t leave to go anywhere without letting at least one other person know where you’re heading. I also recommend using the application Life360 to keep up-to-date via GPS to maintain specific coordinates of everyone on the team at all times, as long as they have their smartphone along with them.
Set A Rally Point. A specific meeting location at a specific time can be great in case the crew is separated without communication or GPS. Simply setting a rally point beforehand takes the guesswork out of figuring out where to go when it does come to meet back up with your friend or team.
Navigation. When moving from location to location, it’s always a good idea to have a sense of direction, a final destination and a contingency plan should you hit a traffic jam or get stuck on the side of the road. Look for memorable landmarks, road signs, and markers in case you’re walking or have to switch up transportation. If you’re using GPS on your smartphone, what if your smartphone dies? Hitch a ride on a tuk-tuk or taxi and use the laminated card with your hotel information in the local language to get back to safety.
While most of this is preventative, if you do find yourself in a tough pinch, having a local fixer or translator to de-escalate the situation or reach out to law enforcement can be an indispensable resource.
Bouncing Back
The trip back can be tough. Keep in mind, it’ll be the same long flight and a lot of the woes you experience on your way into the adventure. When I return from a rich cultural experience it usually takes me at least a week or two to bounce back into everyday life. Take time to settle back into home life, even if that means extending your trip by a day to relax and get used to the extreme change.
It’s Not Overnight. Depending on the time zone change, it’s tough to bounce back with one night's rest. It might take time to give your body that time to acclimate to the new schedule.
Stay Busy. If you want to bounce back right, get the right amount of rest, but keep the mind and body busy. I like to go through a body cleanse upon return with intermittent fasting, meditation, sauna, and clean food.
Share the Stories. Journaling and blogging can be a real help to translate the adventure to paper and keep you busy when you’re jetlagged. I love reading travel stories about adventure, culture, food and weird phenomenon.
Social Media. Once you’re back home safely, use social media if you feel the need. As a photographer, it takes weeks to go through all the photographs I capture. Take your time, collect your thoughts and post the memories whether it be photography, video or a story, that made the trip stand out.
Staying In Touch
Whether it was a subject, friend, fixer, producer or local crew, I do my best to keep in touch with everyone on social media. On occasion, I like to send a personal note over just to say hello and reminisce on the adventure we shared. If I do have the chance to re-visit in the future, those people are always first on my list to connect with.
“Travel isn’t always pretty. It isn’t always comfortable. Sometimes it hurts, it even breaks your heart. But that’s okay. The journey changes you; it should change you. It leaves marks on your memory, on your consciousness, on your heart, and on your body. You take something with you. Hopefully, you leave something good behind.”
– Anthony Bourdain
Travel has enriched my life, changed my life and molded me into the man I am today. I’m grateful I live in an age where travel is so easy and accessible. If you haven’t done it, do it. Rather that investing into that new expensive gadget, invest in travel. Take a camera with you, take a friend, and create some stories. By authentically sharing meaningful stories, sharing our love, loss, vision, and opinion, we are compelled to bond with people on a deeper, real level. Authentic stories humanize and influence. Great stories build a bridge of compassion. And, compassion will always strengthen humanity.
A shout out to Coury Deeb, the entire crew at Nadus Films and their partners. If it weren’t for the opportunities Nadus Films has offered abroad, I could in no way have written a post such as this. Thank you Coury.


